Why photos matter on Airbnb
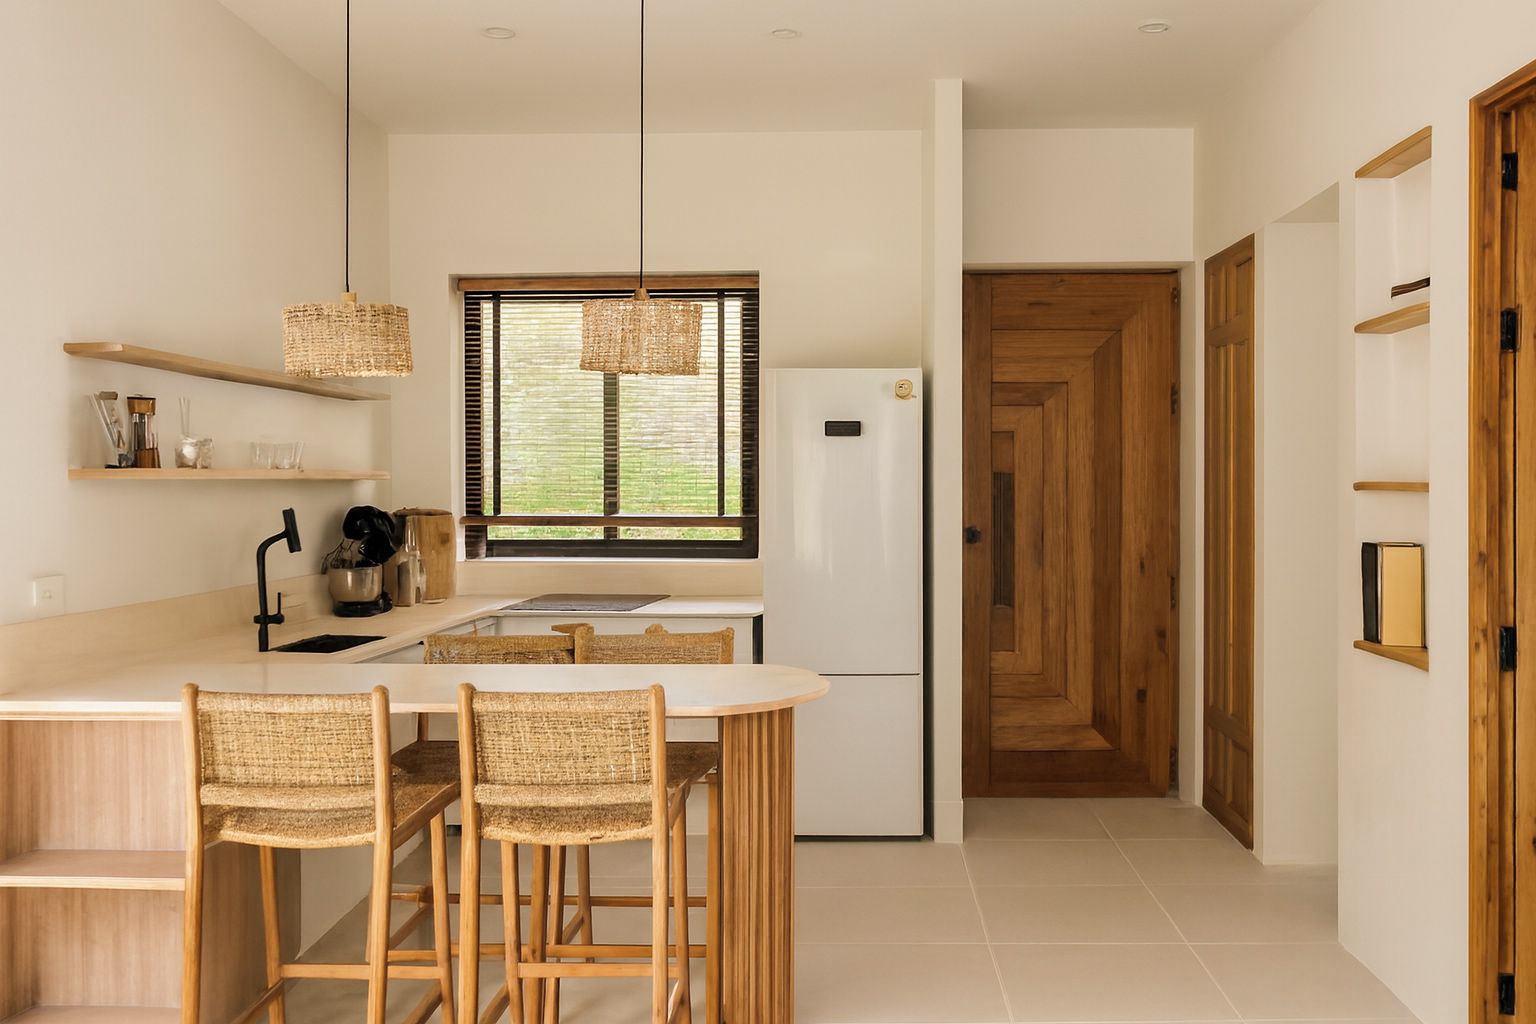
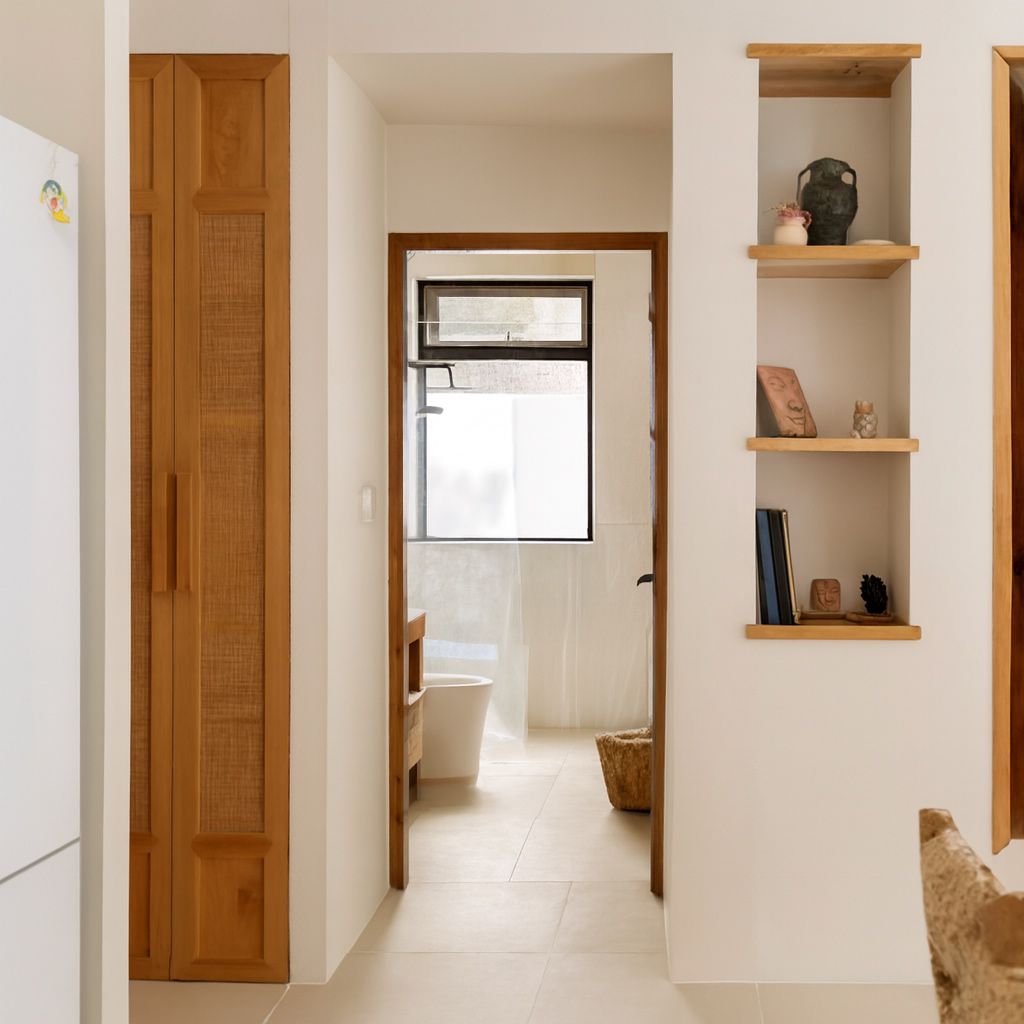
Airbnb's own host guidance stresses clear, well-lit, landscape photos of every space, and Airbnb says listing photos are among the quality factors its search considers. Guests cannot visit before they pay, so the photos carry much of the burden of trust.
A common problem is not a bad space but photos that undersell it. Dim interiors, orange lamp light, tilted walls and blown-out windows make a pleasant apartment look tired - and guests assume the tired version is the real one.
What AI enhancement actually fixes
Good AI enhancement performs the same corrections a professional photo editor would make by hand. Understanding what it does helps you trust - and verify - the result.
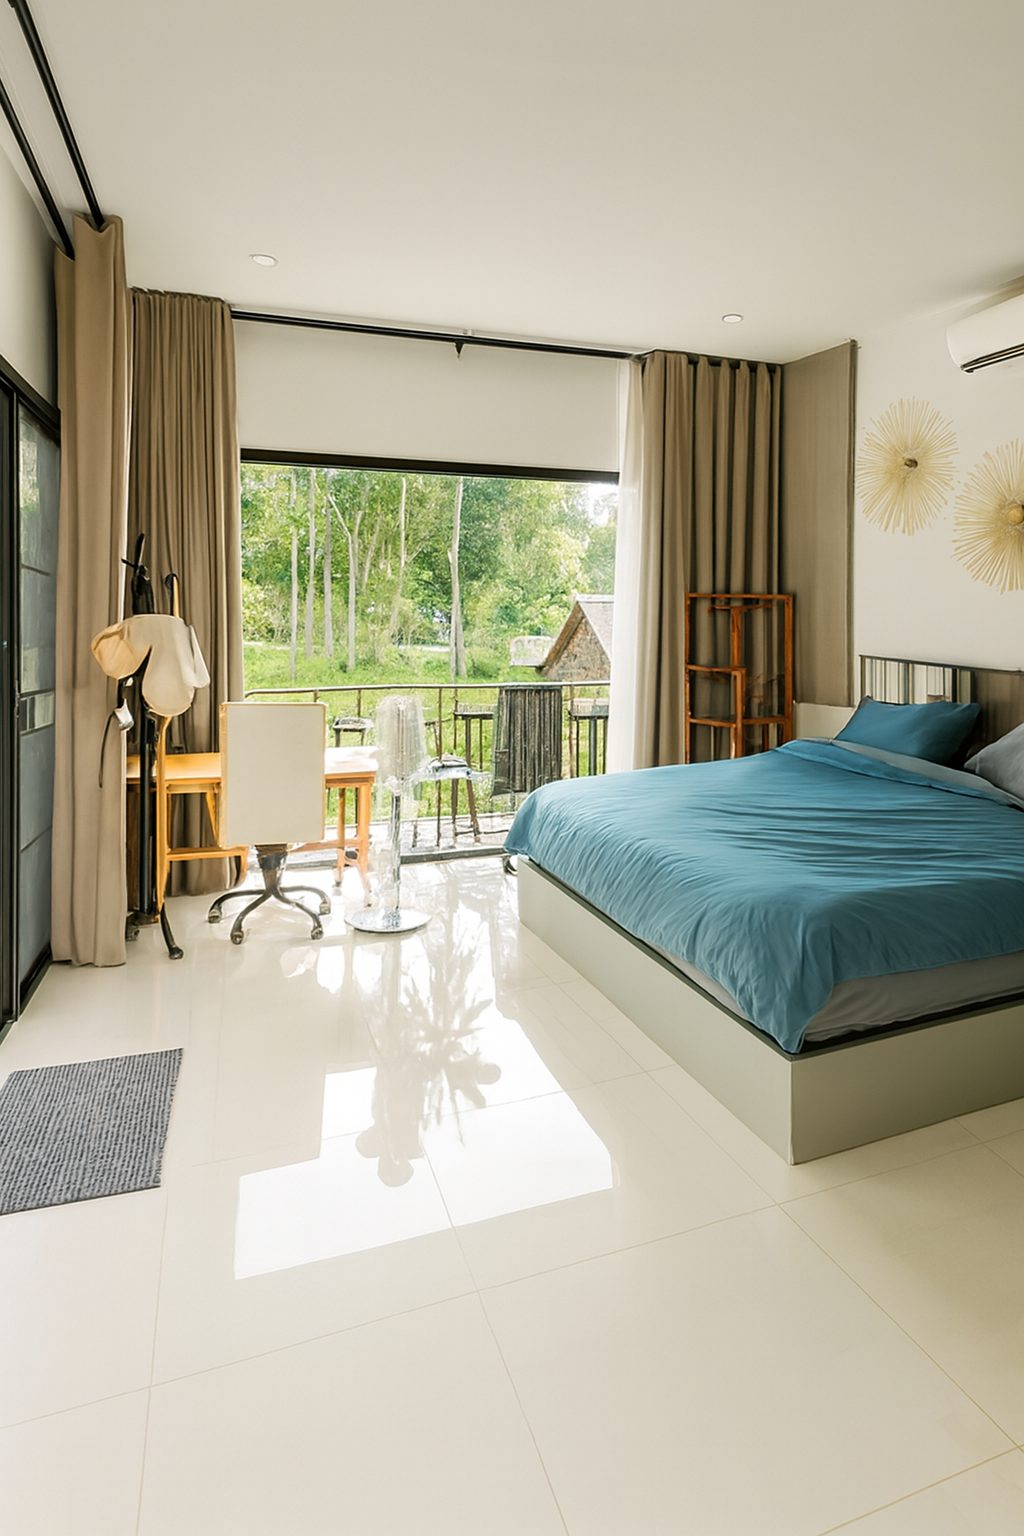
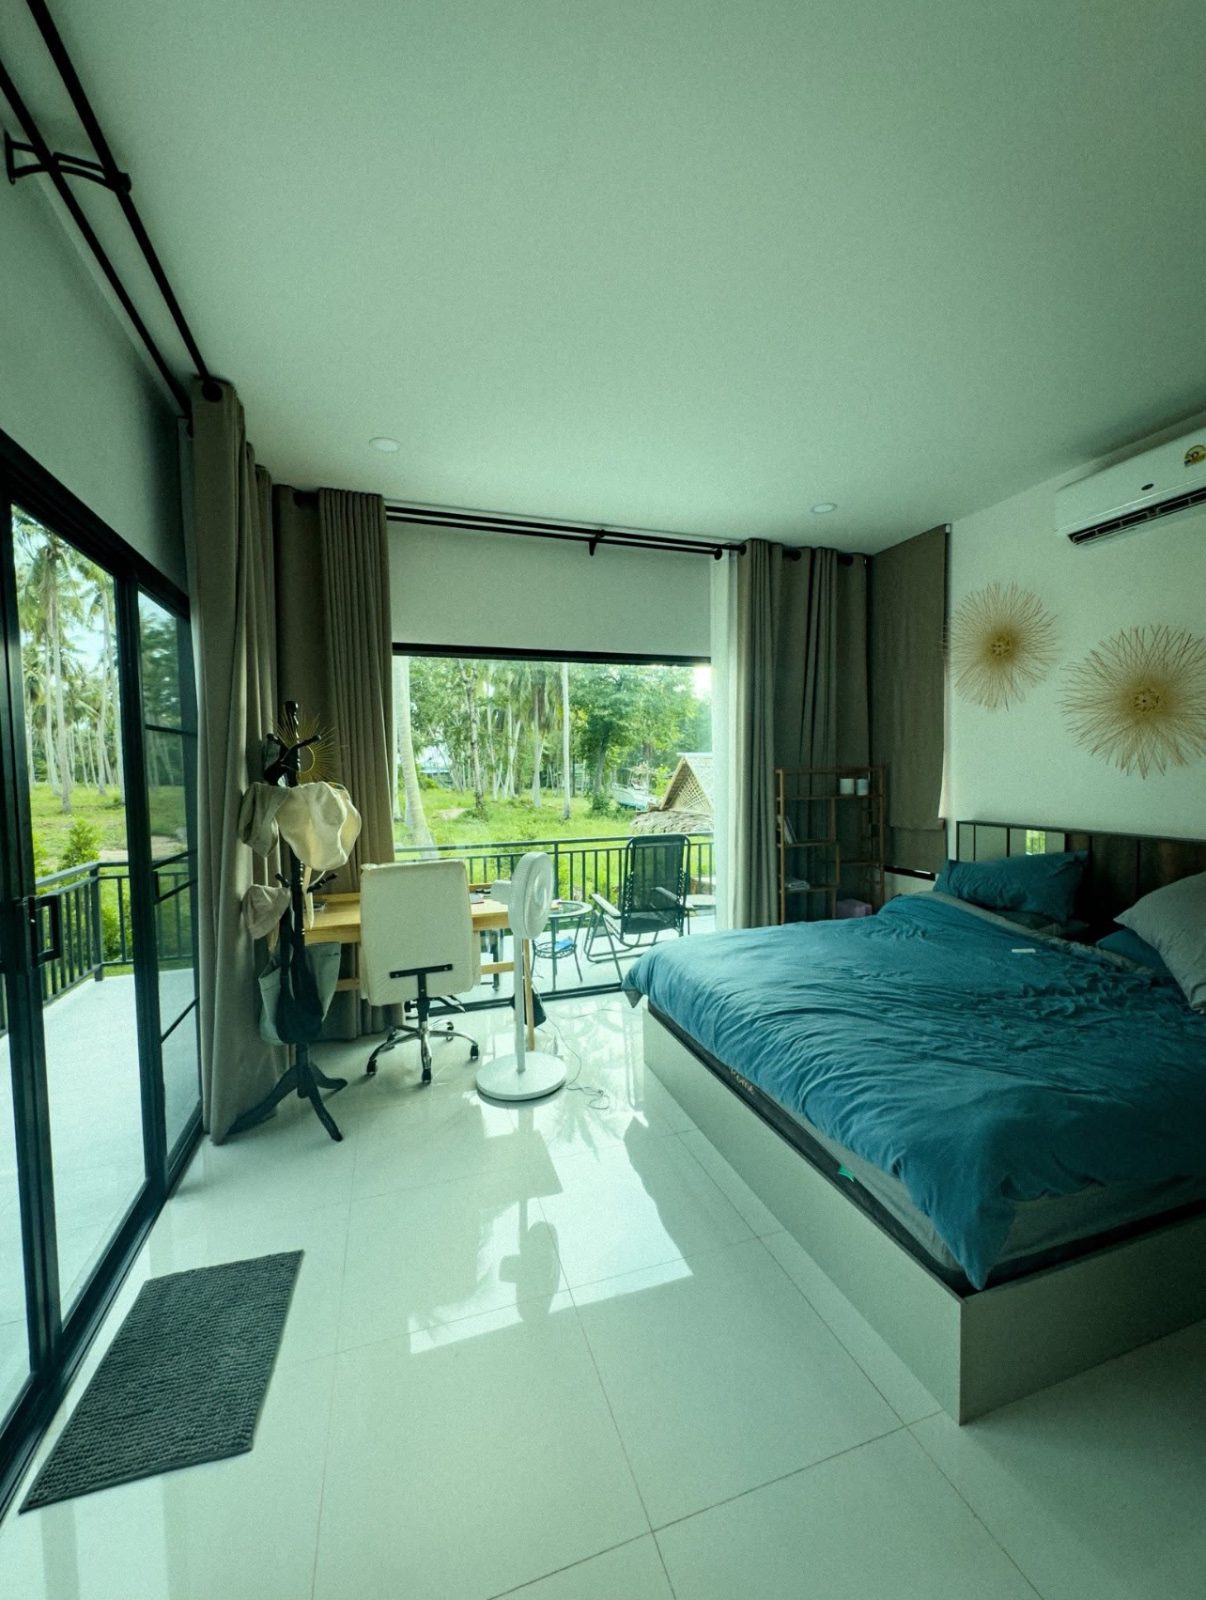
- Exposure balance: shadows lifted so corners read clearly, and bright windows pulled back so the view outside is visible.
- White balance: the orange cast from tungsten bulbs and the blue cast from overcast daylight neutralised, so walls and fabrics show their true colour.
- Perspective: vertical lines straightened so walls and door frames stand upright instead of leaning.
- Clarity and sharpness: detail recovered gently, without the crunchy, over-processed look of heavy filters.
- Consistency: every photo in the set matched to the same brightness and tone, so the gallery feels curated rather than random.
A simple enhancement workflow
You do not need to re-shoot anything to start. Work with the best photos you already have, then improve the workflow over time.
Step 1: Start with your strongest shots
Pick photos that are well-composed and in focus, even if they look dark or yellow. Enhancement corrects light and colour - it cannot fix a blurred image or a bad angle. If a shot is fundamentally weak, retake it using the basics: chest height, straight-on, from a corner.
Step 2: Upload and enhance
Upload the photo to ProLister and let the enhancement run. The correction pass - exposure, colour, verticals, clarity - completes in seconds per image, and the same style is applied across your whole set automatically.
Step 3: Compare before and after
Use the before/after view to check the result against the real room. The furniture, layout and finishes should be identical - only the light, colour and lines should change. If anything looks different from the actual space, do not use that version.
Step 4: Replace and reorder
Swap the enhanced images into your Airbnb gallery, then put the two or three strongest rooms first. Airbnb shows the lead photo in search results, so your brightest, most spacious shot earns the click.
The golden rule: enhance, never alter
Airbnb's content policy expects photos to accurately represent the space, and guest reviews punish listings that over-promise. Enhancement that corrects light, colour and lens distortion is standard practice across the industry. Enhancement that removes stains, erases damage, adds furniture or replaces a view crosses the line into misrepresentation.
ProLister is built around this distinction. It corrects the technical quality of the photo - never the property itself - so the enhanced image is what a guest would see on the room's best day, not a fantasy version of it.
What enhancement can and cannot change
Enhanced photos will not change your property, but they change how quickly guests understand it. A brighter, truer set of photos presents the space more clearly, which can mean fewer surprised guests and fewer mismatched expectations on arrival.
The cost of testing is close to zero: enhance your lead photo, put it back into your listing and watch the difference in how the gallery reads. Most hosts decide within one room.
A five-step workflow
- Pick the set: choose the photos that cover every room and the main amenities.
- Enhance: run the whole set together so colour and brightness stay consistent.
- Compare: look at each photo next to its original before accepting it.
- Reorder: put the strongest, most representative photo first, then follow the way a guest would walk through.
- Replace on Airbnb: upload the new photos and arrange them in your listing's photo tour (see Airbnb's help pages below).
What to check after enhancing
Guests compare the photos with what they find on arrival, so accuracy protects your reviews.
- Nothing has been added to or removed from the room.
- Window views look plausible and match what is really outside.
- Colours of walls, floors and fittings are true to the room.
- Verticals are straight without stretching the room.
- The set looks consistent from the first photo to the last.
Frequently asked questions
Does Airbnb allow AI-enhanced photos?
Yes, as long as the photos accurately represent the property. Correcting light, colour and sharpness is standard practice. Altering the space itself - removing flaws, adding features or changing the view - violates Airbnb's content policy.
Will enhanced photos look fake to guests?
Not when the enhancement is limited to correction. Balanced exposure and neutral colour are exactly what a professional photographer delivers, so the result reads as a well-shot photo rather than an artificial one.
Can I enhance the photos I already have, or do I need to re-shoot?
Start with what you have. Most photos shot on a modern phone in reasonable light enhance beautifully. Re-shoot only the images that are blurred, badly framed or taken in near-darkness.
How many photos should my Airbnb listing have?
Aim for 15 to 25 covering every room, plus outdoor space and any standout details. Lead with the strongest two or three images, then follow the order a guest would walk through the property.