Why preparation beats equipment
A photographer with an expensive camera cannot hide a cluttered worktop, a mismatched lampshade or an unmade bed. Every distraction in frame competes with the space itself, and buyers scrolling a results page decide very quickly.
Preparation is also the only variable fully under your control. Light can be corrected, colour can be corrected, verticals can be corrected. A bin bag by the door cannot.
How much of this preparation can you skip?
Honest answer: less than you would like, but more than you might think. Nothing replaces decluttering and cleaning - no software can move a laundry basket out of frame. But a meaningful share of the traditional shoot-day checklist exists purely to make the photograph technically correct, not to make the room better.
Waiting hours for the right light, staging lamps to fight a colour cast, adjusting curtains to save a blown-out window, re-shooting because the verticals leaned: ProLister handles those outcomes afterwards. You can shoot in ordinary daylight, on your phone, without choreographing the lighting, and still get back an image with balanced exposure, neutral colour and straight lines.
So prioritise ruthlessly. Spend your hours on tidying, cleaning and depersonalising, which only you can do, and let the enhancement step absorb the technical work. If you are hiring a professional photographer, run the full checklist below anyway - it will make their job faster and their results better.
The day before: whole-house tasks
- Replace every dead or mismatched bulb, ideally with the same colour temperature throughout.
- Clean all windows inside and out - dirty glass shows badly against bright daylight.
- Mow, sweep and tidy outdoor areas including the entrance path and any balcony.
- Move cars off the driveway and away from the front of the property.
- Wash and iron visible textiles: bedding, towels, throws, cushion covers.
- Vacuum and mop everything; floors read strongly in wide-angle shots.
Room by room
Kitchen
Clear every worktop. Small appliances, dish racks, cleaning products, magnets, notes and children's drawings all come off. Leave at most one deliberate item, such as a bowl of fruit or a single plant. Hide bins, tea towels and sponges, and polish taps and splashbacks - reflective surfaces show every smear.
Living room
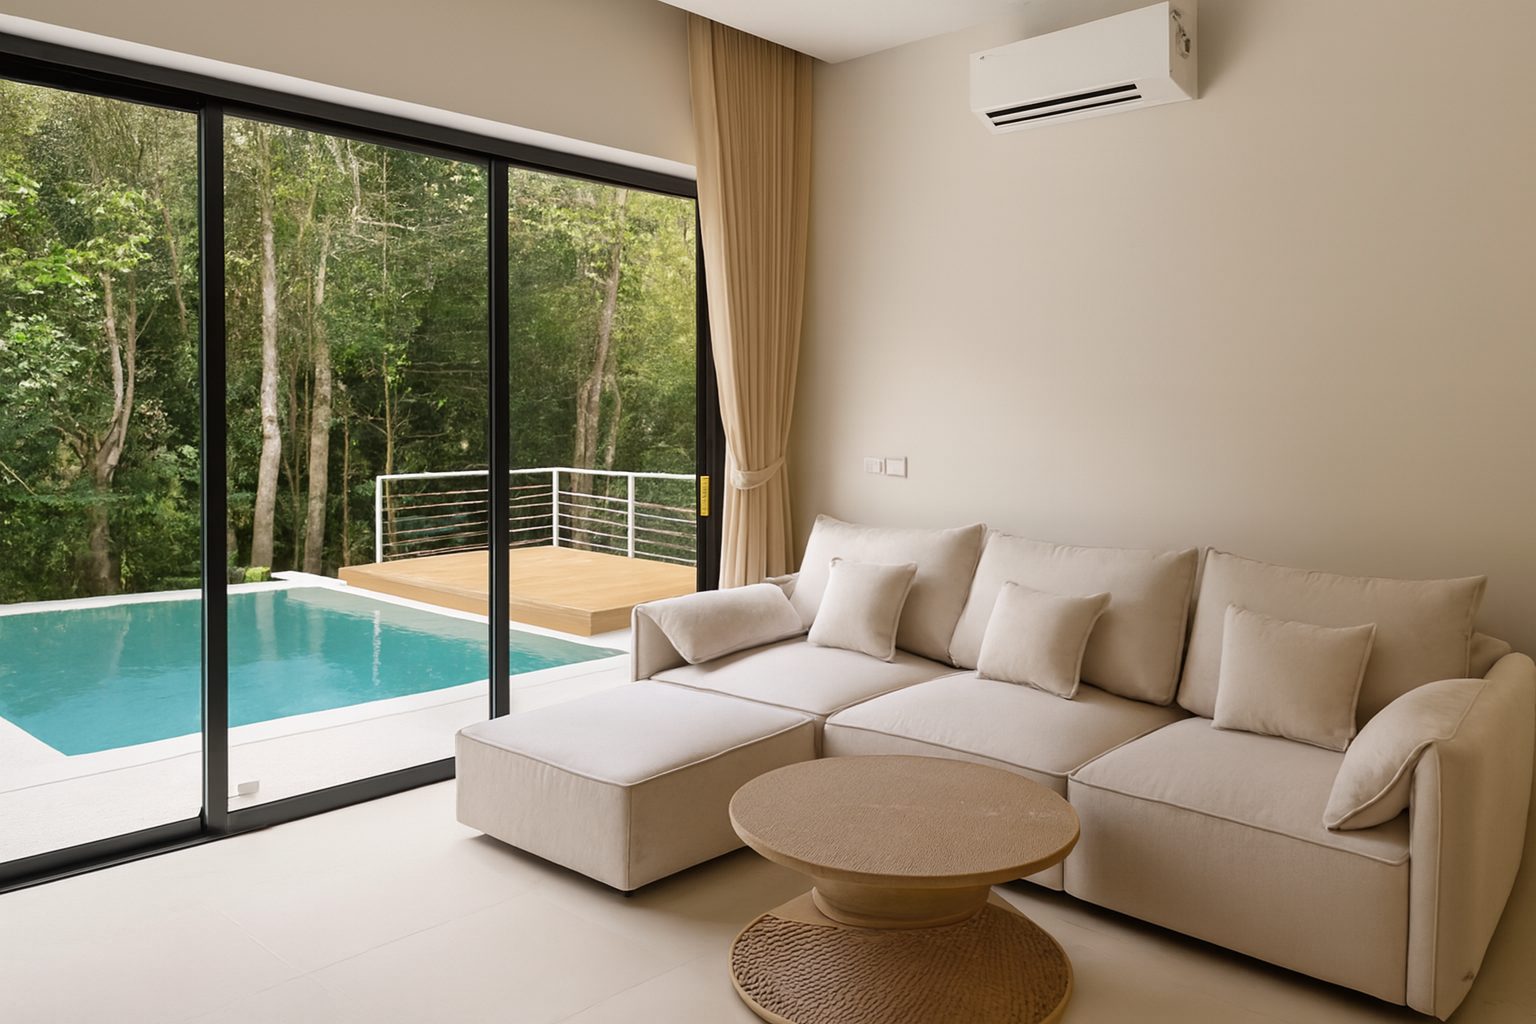
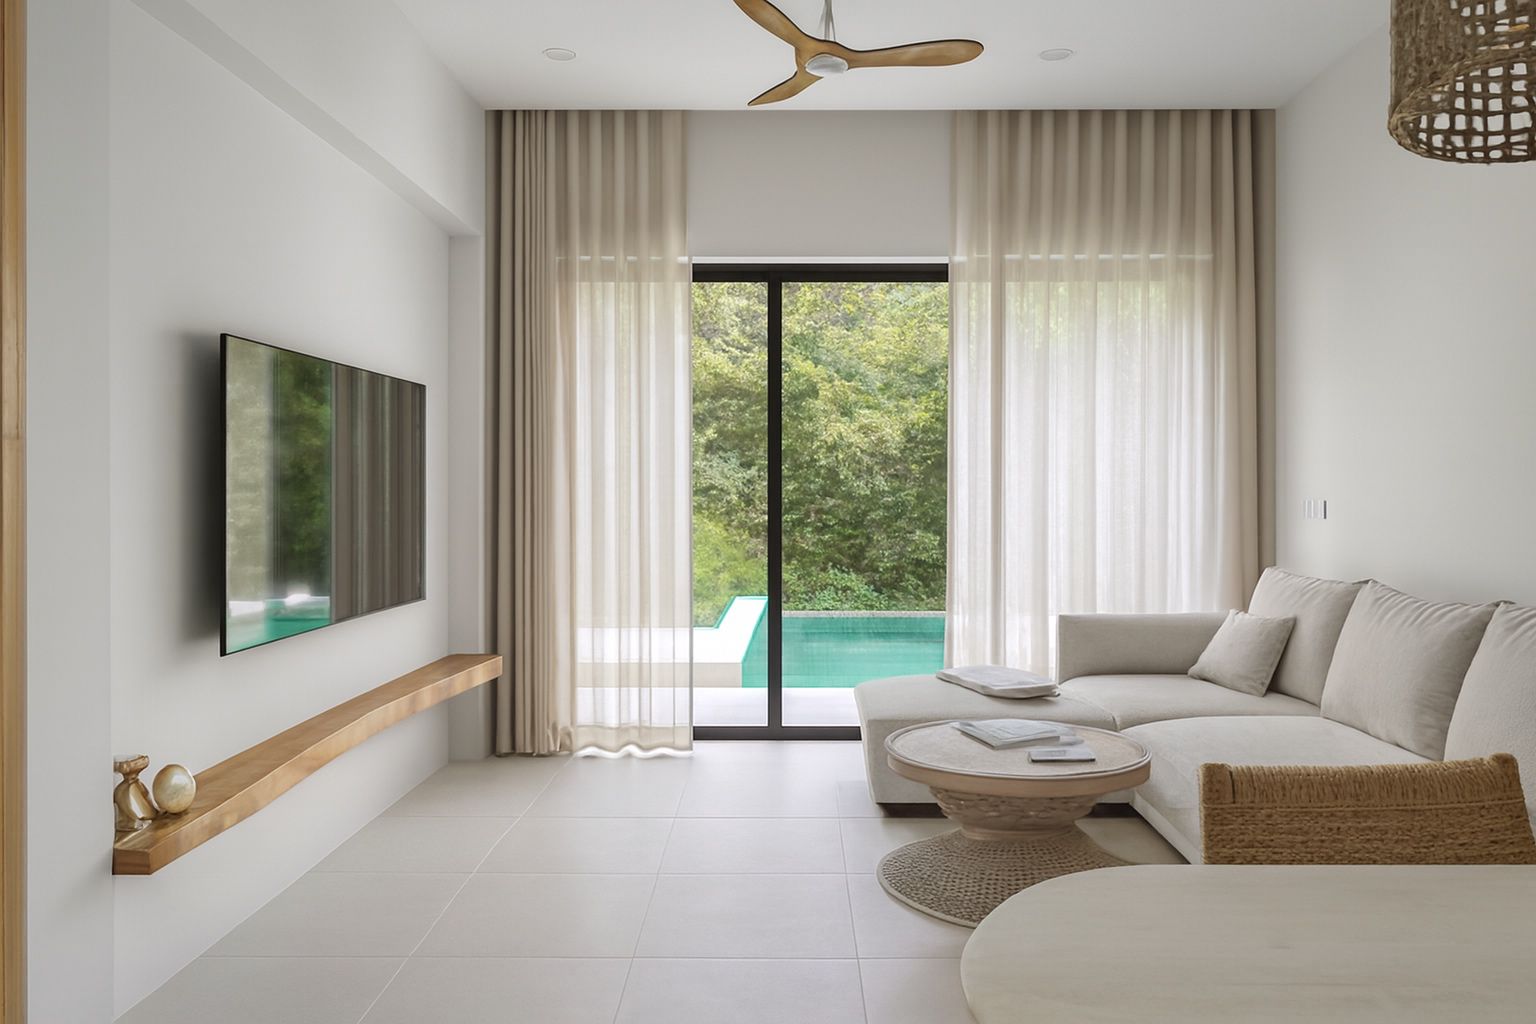
Reduce furniture until the room feels open, then plump and straighten cushions. Coil or hide cables, remove remote controls and magazines, and turn off the television. Pull furniture slightly away from walls to create depth, and take down anything overly personal from surfaces and shelves.
Bedrooms
Make the bed properly with clean, neutral bedding - this single task changes a bedroom photo more than anything else. Clear nightstands to a lamp and perhaps one small object, close wardrobes fully, and remove clothing, laundry baskets and anything stored under the bed that is visible.
Bathrooms
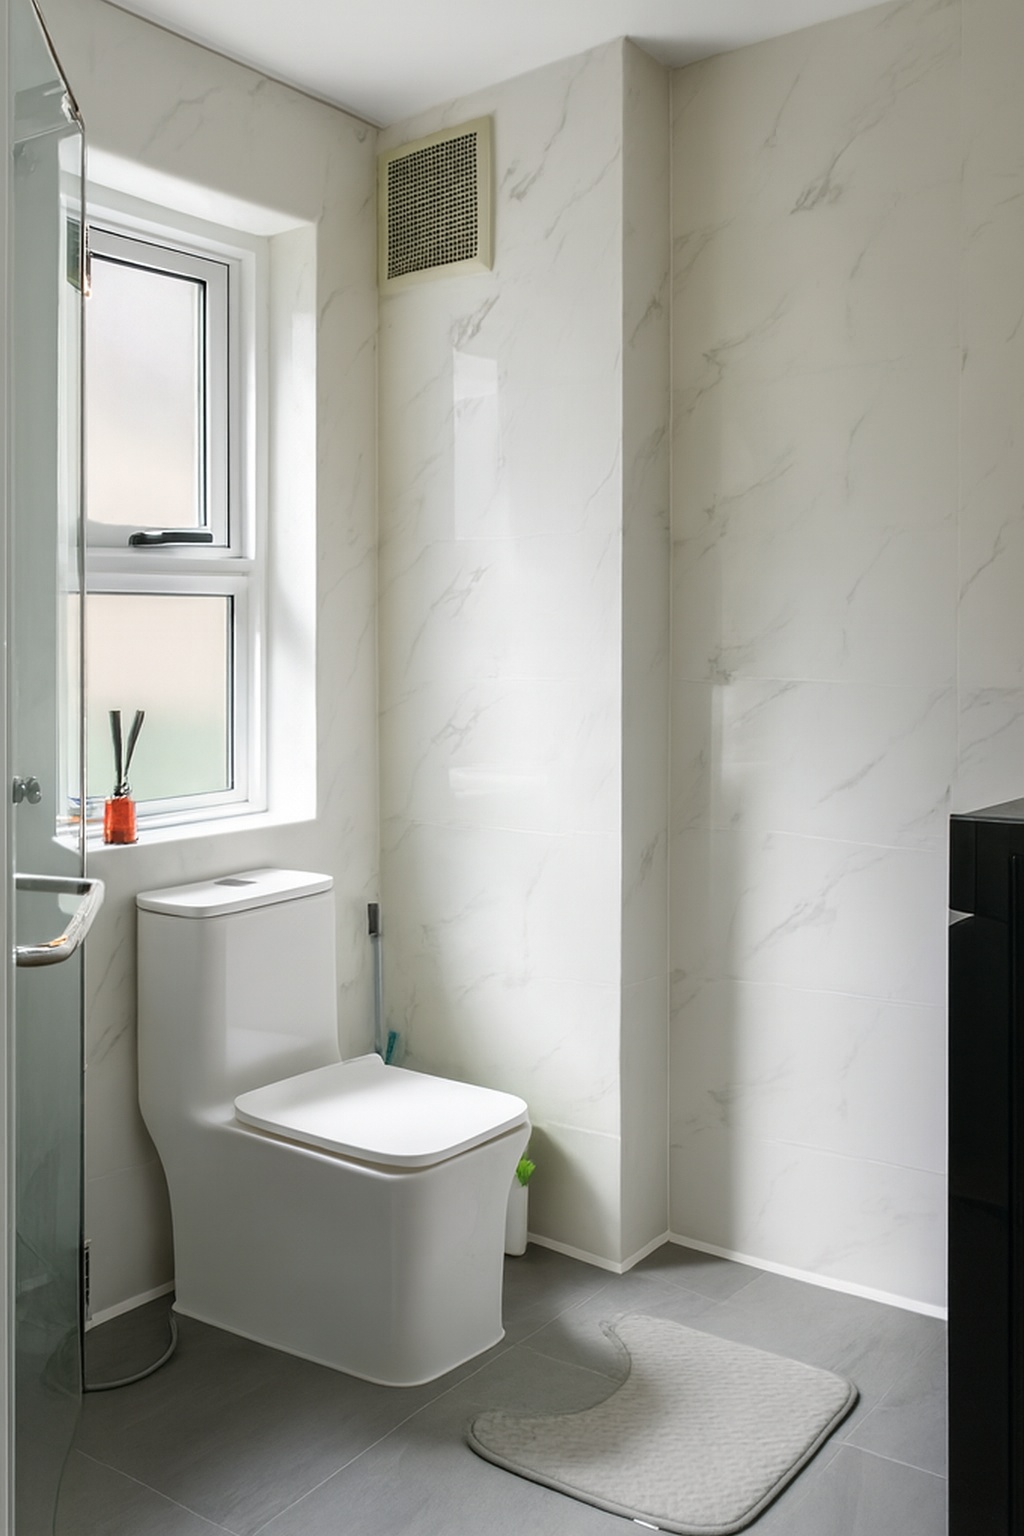
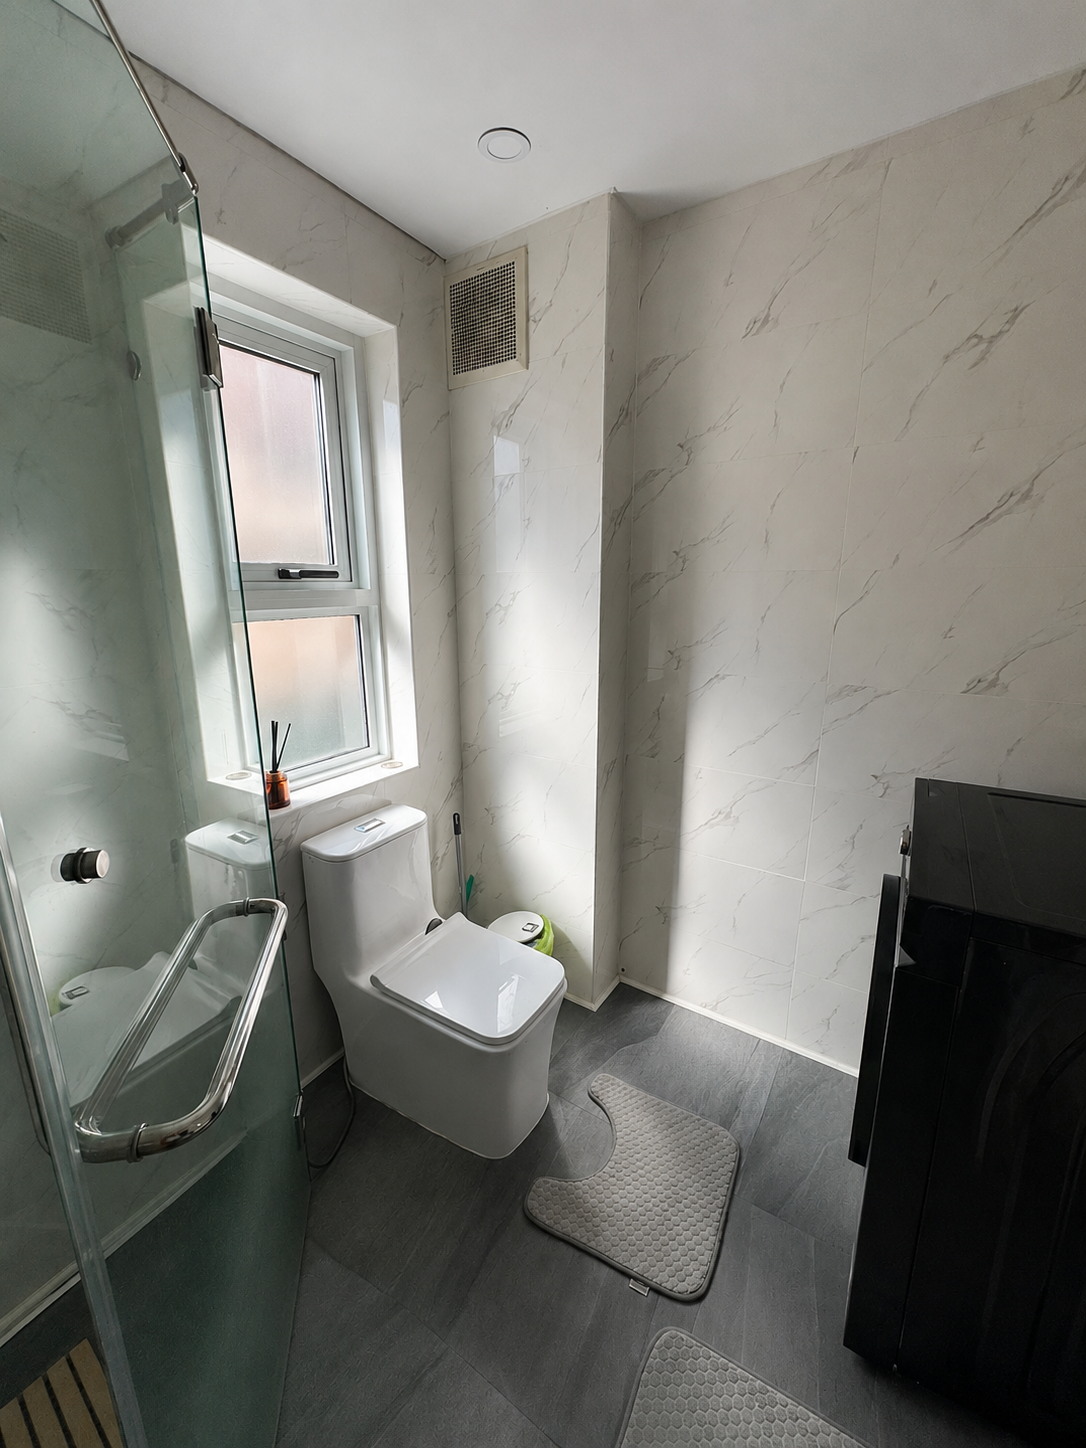
Remove all toiletries, toothbrushes, razors, bath mats and towels in use, then hang fresh matching towels. Close toilet lids, clean mirrors and glass, and dry every surface: water droplets and limescale are extremely visible in bright bathroom light.
Outdoor space and entrance
Tidy the garden, remove hoses, tools, toys and bins, and clean garden furniture. Add a doormat if yours is worn. The entrance is often the first photo a buyer sees and sets expectations for everything after it.
Light and timing on the day
Shoot when the property receives its best natural light. South-facing rooms photograph well in the morning, west-facing rooms in the afternoon. Bright but overcast conditions are ideal for interiors because the light is soft and even.
Open all curtains and blinds fully. Then choose one lighting approach per room and stay with it: either natural light alone, or all lamps on with the same bulb temperature. Mixing daylight with warm bulbs produces the colour clash that makes rooms look yellow on one side and blue on the other.
Turn off ceiling fans, close interior doors that lead to unphotographed spaces, and take pets and their bowls, beds and toys out of frame.
Mistakes that ruin otherwise good shots
- Leaving the photographer, a phone or yourself reflected in a mirror or window.
- Half-tidying: one clear surface next to one cluttered one draws the eye straight to the clutter.
- Personal photographs and name-labelled items that stop a buyer imagining themselves there.
- Shooting from standing height, which distorts rooms - chest height is the professional default.
- Bins, cables, chargers and cleaning equipment left in the edge of frame.
- Rooms photographed at night when the property looks its best in daylight.
The final pass before shooting
Stand in the doorway of each room and look at it as a stranger would. Anything that catches your attention for the wrong reason should move. Then take one test photo per room on your phone and look at it on screen - the camera notices clutter that your eye has learned to ignore.
Once the space itself is right, the remaining gap between your photos and a professional set is technical: exposure, colour, verticals and consistency. That part can be fixed after the shoot in seconds.
Frequently asked questions
How long does it take to prepare a home for photos?
Plan on three to six hours for a typical home, spread over the day before and the morning of the shoot. Deep cleaning and decluttering take most of that time; the final tidy on the day takes about an hour.
Should lights be on or off for real estate photos?
Pick one and stay consistent. Natural light alone usually produces the most accurate colour. If you use lamps, make sure every bulb in the room is the same colour temperature, otherwise the photo will show two competing colour casts.
Should the home be staged or can it stay lived in?
Lived-in is fine as long as it is depersonalised and uncluttered. Buyers need to imagine themselves in the space, so remove family photos, personal documents and anything highly specific to your household.
Do I need to prepare rooms I am not photographing?
Only enough to keep them out of the shot. Close their doors and make sure nothing from them - laundry, storage, pet items - appears in the edge of another room's frame.