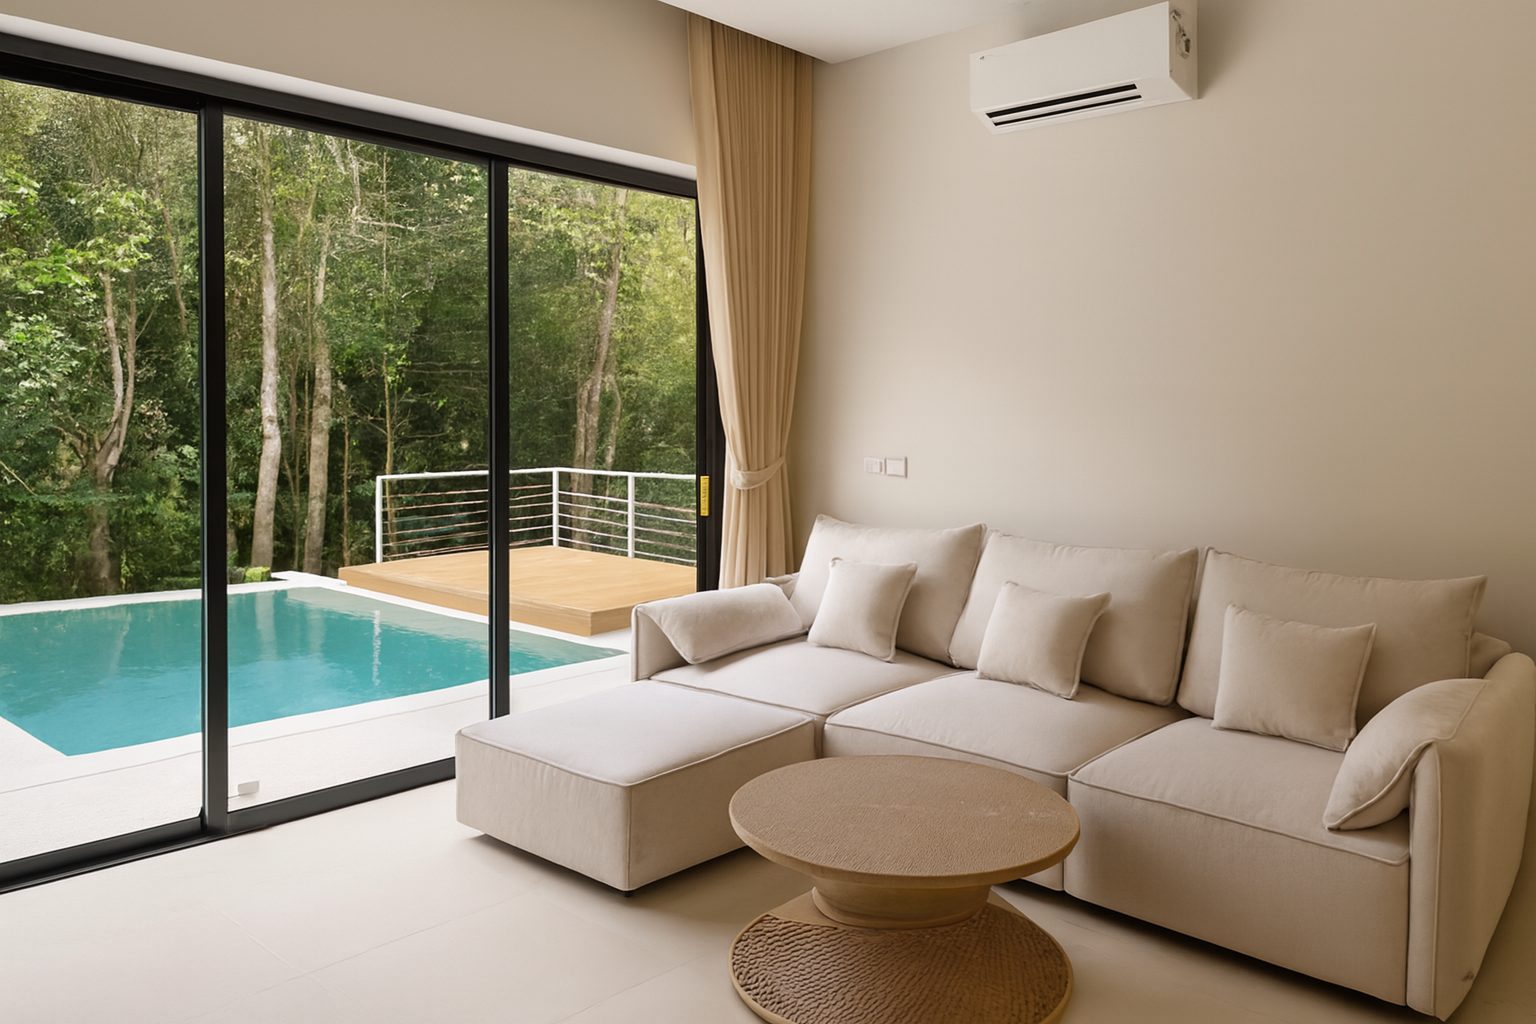
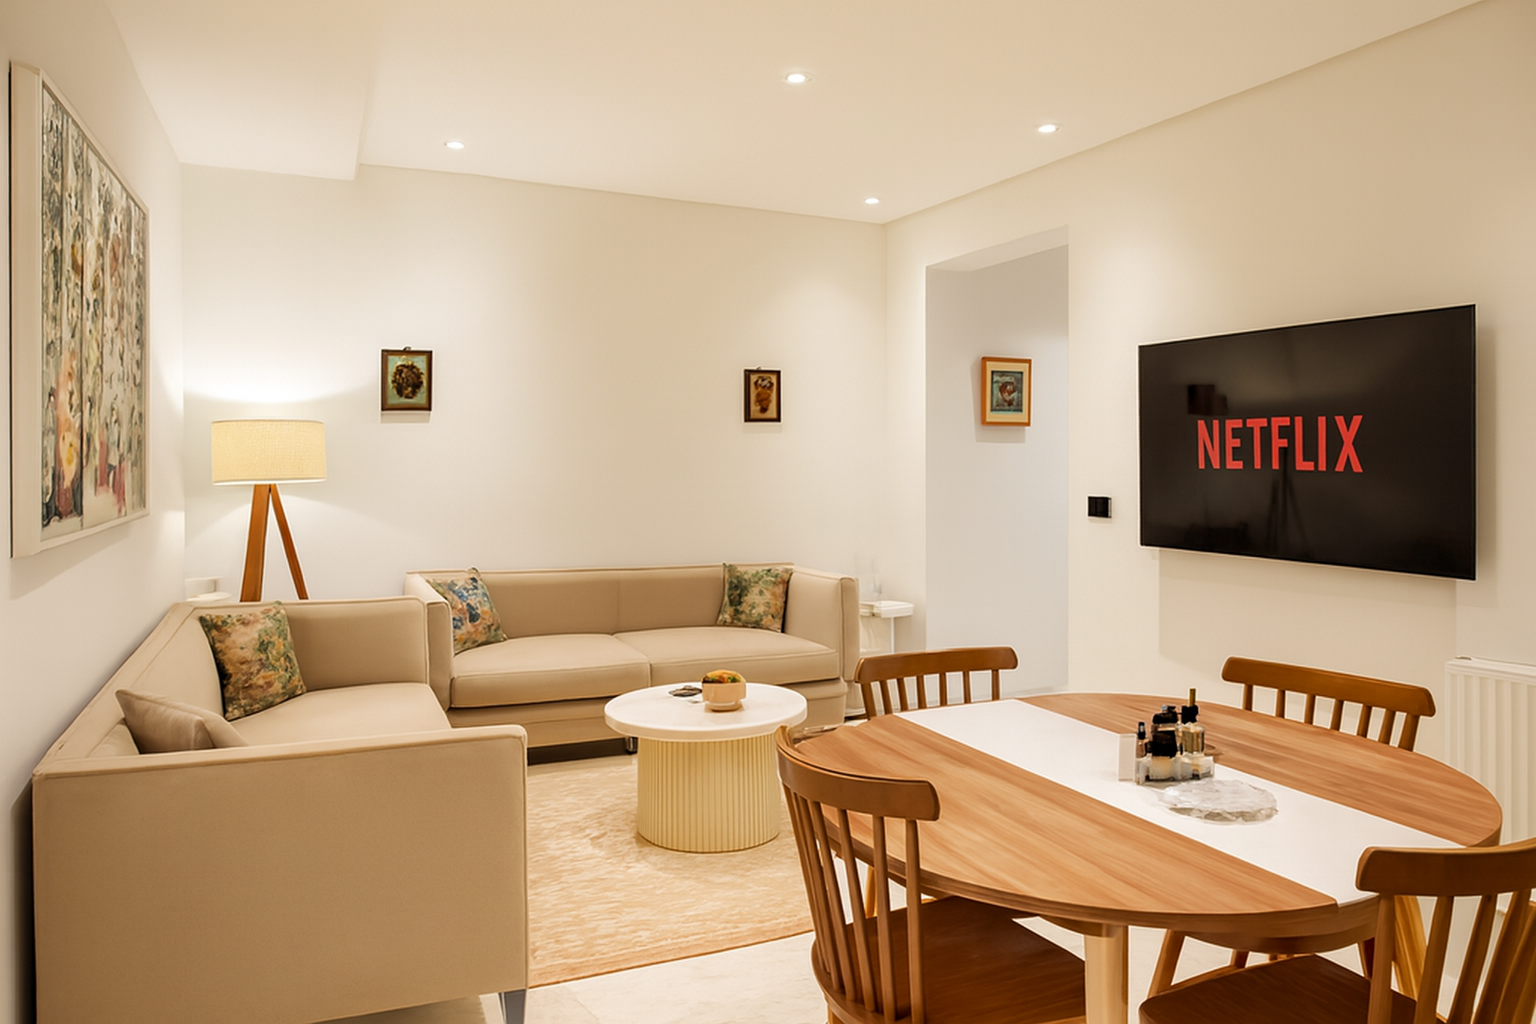
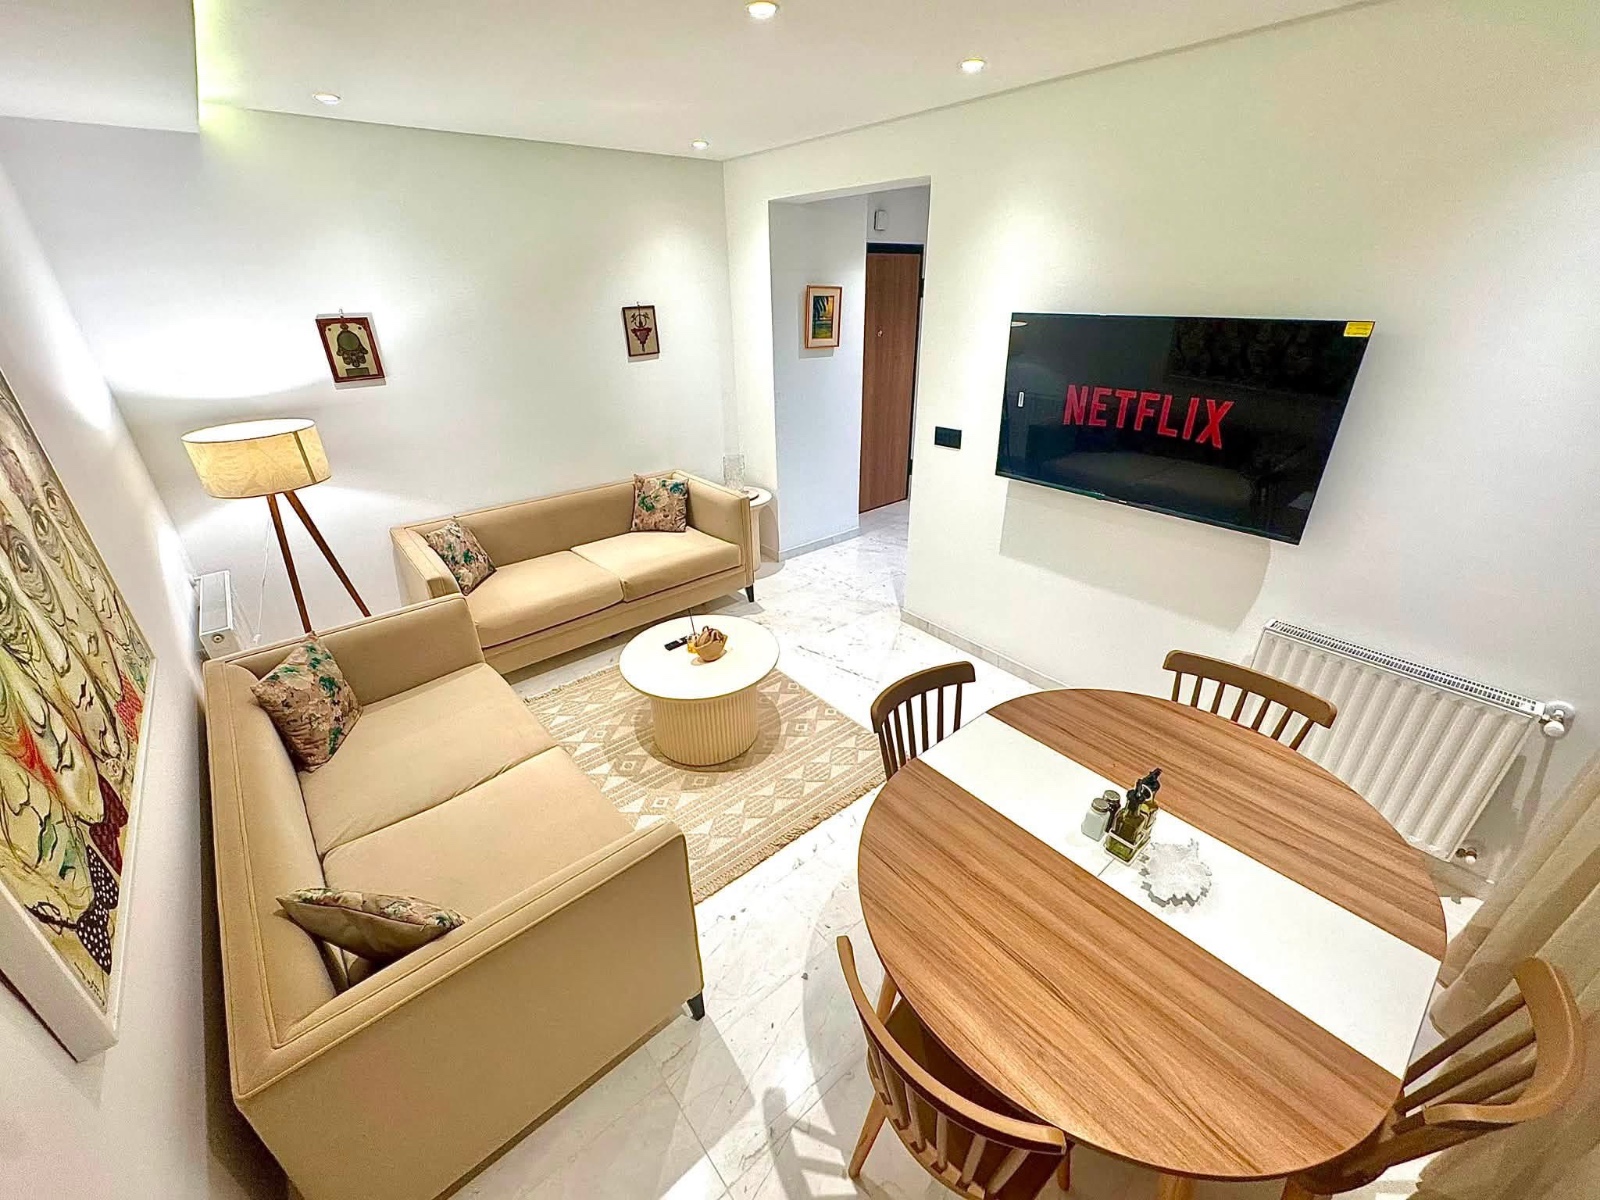
Why listing photos carry the first impression
On every major listing platform, a property is represented by one image in the search results and a gallery on the detail page. Before a description is read or a price is compared, the photos have already told someone what kind of home this is and how well it is being presented.
That first impression is not only about the property itself. Two identical apartments can look very different online depending on the time of day they were shot, how the camera was held and whether the images were finished properly. Photography is the layer you control even when the property is not perfect.
The practical goal is simple: the photos should show the space accurately and clearly, so that anyone scrolling can understand the layout, the light and the condition without guessing.
Preparing the property before the camera comes out
Preparation does more for a photo set than any camera upgrade. A room that has been tidied, de-personalised and opened to the light photographs well on almost any device; a cluttered room photographs badly on every device.
Work room by room rather than trying to fix everything at once. Clear surfaces, remove bins and cables, straighten textiles, open blinds fully, and turn on lamps only when they add warmth rather than colour casts. Outside, move cars and bins out of frame and sweep the entrance.
- Clear worktops, bedside tables and bathroom surfaces almost completely.
- Open every blind and curtain; daylight is the most flattering light you have.
- Remove personal photos, laundry, pet bowls and anything that dates the shoot.
- Check the view through the windows - a clean window is part of the room.
- Walk the route a viewer would take and shoot in that order.
Shooting with a phone
Modern phone cameras are capable of producing usable listing photos. The limits are rarely the sensor; they are height, angle, exposure and the temptation to shoot from the doorway in one quick sweep.
Hold the phone at roughly chest height and keep it level. Tilting up or down makes vertical lines converge and instantly reads as amateur. Shoot from a corner of the room rather than the middle of a wall so that two walls and the depth of the space are visible. Tap to set exposure on the brightest part of the room, then lift the shadows afterwards rather than blowing out the windows.
A workable phone routine
Clean the lens, switch on the grid, and turn off any beautify or strong HDR mode. Take three frames of each room from slightly different positions so you have a choice later, and shoot the whole property in one session so the light is consistent across the set.
Perspective, lighting and composition
Three technical qualities separate a listing photo that looks considered from one that looks improvised: straight verticals, even exposure and deliberate framing.
Verticals matter because rooms are built from straight lines. When door frames and wall corners lean, the eye reads the room as distorted even if it cannot say why. Exposure matters because interiors mix bright windows with darker corners; a single automatic exposure usually loses one or the other. Framing matters because a room photographed from the wrong spot can hide its best feature entirely.
Perspective
Keep the camera level and parallel to the main wall. If a shot is already crooked, it can be straightened afterwards, at the cost of cropping a little of the edges.
Lighting
Shoot when daylight fills the room rather than when the sun is directly in the window. Mixed light sources - daylight plus warm bulbs - create colour casts that are worth correcting before publishing.
Composition
Give each room one clear subject: the bed, the island, the view. Include enough floor and ceiling to communicate scale, and avoid tight crops that leave a viewer unsure what they are looking at.
Common mistakes and how to avoid them
Most weak listing sets share the same handful of problems, and all of them are avoidable without new equipment.
- Shooting in the dark or with all curtains closed.
- Tilted cameras and converging vertical lines.
- Wide-angle lenses used so aggressively that rooms look distorted.
- Mirrors and windows that show the photographer.
- Inconsistent colour across the set, so rooms look like different properties.
- Too few photos, or a gallery that skips whole rooms.
- Mixing daylight with warm bulbs in the same room.
- Shooting before the room has been prepared.
- Shooting the gallery across several days, so the light never matches.
Choosing the cover photo
The cover photo does a different job from the rest of the gallery. It has to be legible as a thumbnail, recognisable in a crowded results page, and honest about what the property is.
In practice that usually means the room with the most light and the clearest sense of space, or a strong exterior when the building itself is the selling point. Avoid detail shots, dark rooms and images with heavy text overlays, which lose their meaning at small sizes.
When professional photography is the right call
A professional photographer brings equipment, lighting technique and experience of shooting properties quickly and consistently. For high-value homes, unusual architecture, difficult light or properties where the listing will be promoted heavily, that is often worth the cost and the scheduling.
The trade-offs are time and money: a shoot has to be booked, the property has to be ready on that date, and re-shoots are rarely practical when something changes. Knowing the typical cost in your market makes the decision concrete rather than theoretical.
Improving photos you already have
Many listings do not need a new shoot. They need the existing images corrected: verticals straightened, exposure balanced, colour neutralised and noise cleaned up. This is the finishing pass that professional sets receive as a matter of course and that phone photos usually skip.
The boundary to respect is accuracy. Correcting how a room was captured is editing; adding, removing or rebuilding what is in the room is misrepresentation, and listing platforms and buyers treat it that way.
Who should take the photos?
There is no single right answer. This table is our practical starting point for common situations.
| Situation | Phone yourself | Phone + AI finishing | Professional photographer |
|---|---|---|---|
| Bright, simple property | Often enough | Good fit | Optional |
| Dark or high-contrast rooms | Difficult | Can help with exposure | Good fit |
| Luxury or high-stakes listing | Not ideal | Possible | Usually worth it |
| Drone or twilight shots needed | No | No | Yes; commercial drone use in the US needs an FAA Part 107 certified pilot |
| Tight deadline | Fastest | Fast | Depends on availability |
The whole process at a glance
Preparation
Tidy, de-personalise and open every room to daylight before anyone picks up a camera. Preparation usually matters more than equipment.
Shooting
Keep the camera level at chest height, shoot along the room's diagonal and use one light source per room. Shoot the whole property in one session.
Finishing
A finishing pass corrects exposure, colour and verticals so the set looks consistent. It should never change what the property contains.
Rights
The photographer usually owns the copyright unless a written agreement says otherwise, so check your licence before reusing photos.
Cost
Prices vary by market and property, so compare written quotes that list finished images, turnaround, licence and add-ons.
Where ProLister fits
ProLister handles the finishing step described above. You upload a photo you already have and it returns a corrected version: perspective straightened, lighting balanced, colour neutralised, detail recovered - with the room, the furniture and the architecture left exactly as they were.
It does not replace preparation, framing or a professional shoot where one is warranted. It is useful when the photos exist and the technical quality is what is holding them back.
Frequently asked questions
Do I need a professional camera for listing photos?
No. A recent phone camera can produce usable listing photos when the room is prepared, the camera is held level at chest height and the images are finished afterwards. A dedicated camera and wide lens give more control in tight or dark rooms.
What time of day is best for shooting a property?
Daylight hours when the sun is not shining directly into the main windows usually work best, because the rooms are bright without extreme contrast. Shoot the whole property in one session so the light stays consistent.
How many photos should a listing have?
Enough to show every room and the outdoor space without repetition, usually one or two frames per room plus exteriors. Platforms differ in how many they display, so check the limits of the site you are publishing on.
Can crooked photos be fixed after the shoot?
Usually yes. Rotation and perspective correction can straighten converging lines, at the cost of cropping a small amount from the edges. Severely tilted shots may lose too much of the frame to recover.
Is editing listing photos acceptable?
Correcting exposure, colour, perspective and sharpness is standard practice. Adding or removing objects, changing the layout or hiding defects misrepresents the property and is treated as such by platforms and buyers.
Should the cover photo be an interior or an exterior?
Choose whichever shows the property at its strongest and is still readable as a thumbnail. Bright, open interiors work well for apartments; characterful exteriors often work better for houses.