Set your phone up before you shoot anything
Two minutes in the camera settings prevents most of the problems that ruin phone listing photos later.
- Clean the lens. Pocket grease is the single most common cause of soft, hazy phone photos.
- Shoot at the highest resolution and turn off any social-media crop or filter mode.
- Enable the grid overlay - you will use it constantly for levelling and framing.
- Use the main (1x) lens, not the ultra-wide, unless a room is genuinely too tight. Ultra-wide bends walls and exaggerates space.
- Turn the flash off permanently. On-camera flash flattens rooms and produces hard reflections in glass and gloss.
- Turn HDR on. It protects window highlights while keeping interior shadows readable.
Height, level and verticals
Shoot from chest height, roughly 1.4 metres. Standing height looks down into a room and makes floors dominate; hip height makes ceilings loom. Chest height is what professional real estate photographers default to because it matches how a person perceives the space.
Hold the phone perfectly vertical - not tilted up or down. Tilting is what causes walls and door frames to lean inwards, the instantly recognisable sign of an amateur shot. Use the grid, and if your phone has a level indicator, wait for it to align before pressing the shutter.
Brace yourself against a wall or door frame in dim rooms. Phone stabilisation is good, but slow indoor shutter speeds still soften detail if you are moving.
Framing a room so it reads as a space
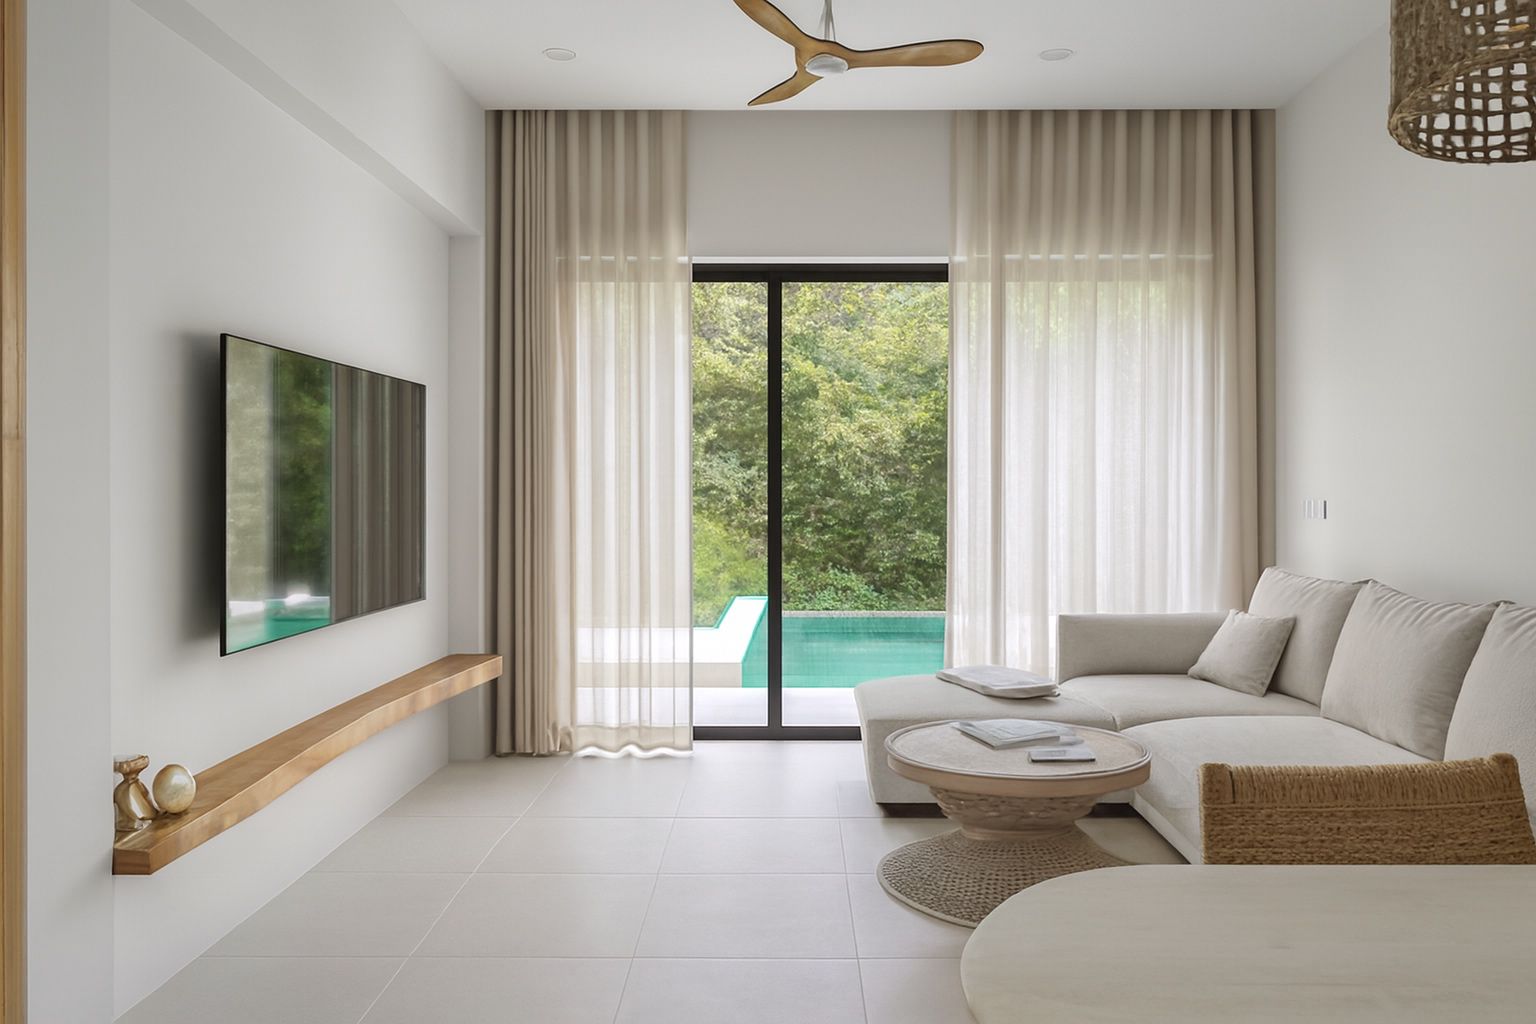
Stand in a corner or a doorway and shoot along the longest diagonal of the room. That single decision does more for perceived size than any lens.
Include two walls and some floor. A photograph of one flat wall gives the viewer no sense of depth. Keep the horizon of the floor line clean and avoid cutting furniture awkwardly at the frame edge.
Shoot the same room from two or three positions and choose later. It costs nothing, and the best angle is rarely the first one you try.
Working with the light you have
Photograph each room when it receives its best natural light: east-facing in the morning, west-facing in the afternoon. Bright overcast days are ideal for interiors because the light is soft and even.
Open every curtain and blind, then commit to one lighting approach per room. Either natural light alone, or all lamps on with matching bulb colour. Mixing daylight with warm bulbs creates the split colour cast that makes one half of a room orange and the other blue.
Expose for the room, not the window. Tap on a mid-tone wall rather than the brightest area, and let the window sit slightly bright - a recoverable highlight is far better than a room that is uniformly dark.
A shot list that tells the whole story
Cover the exterior, entrance, every room and one or two genuine features, with two angles for the main living space. Our DIY article has a full room-by-room shot list.
Shoot the whole property in one session and in one lighting condition. A set photographed across three different days will never look consistent, no matter how good the individual images are.
The finishing step that closes the gap
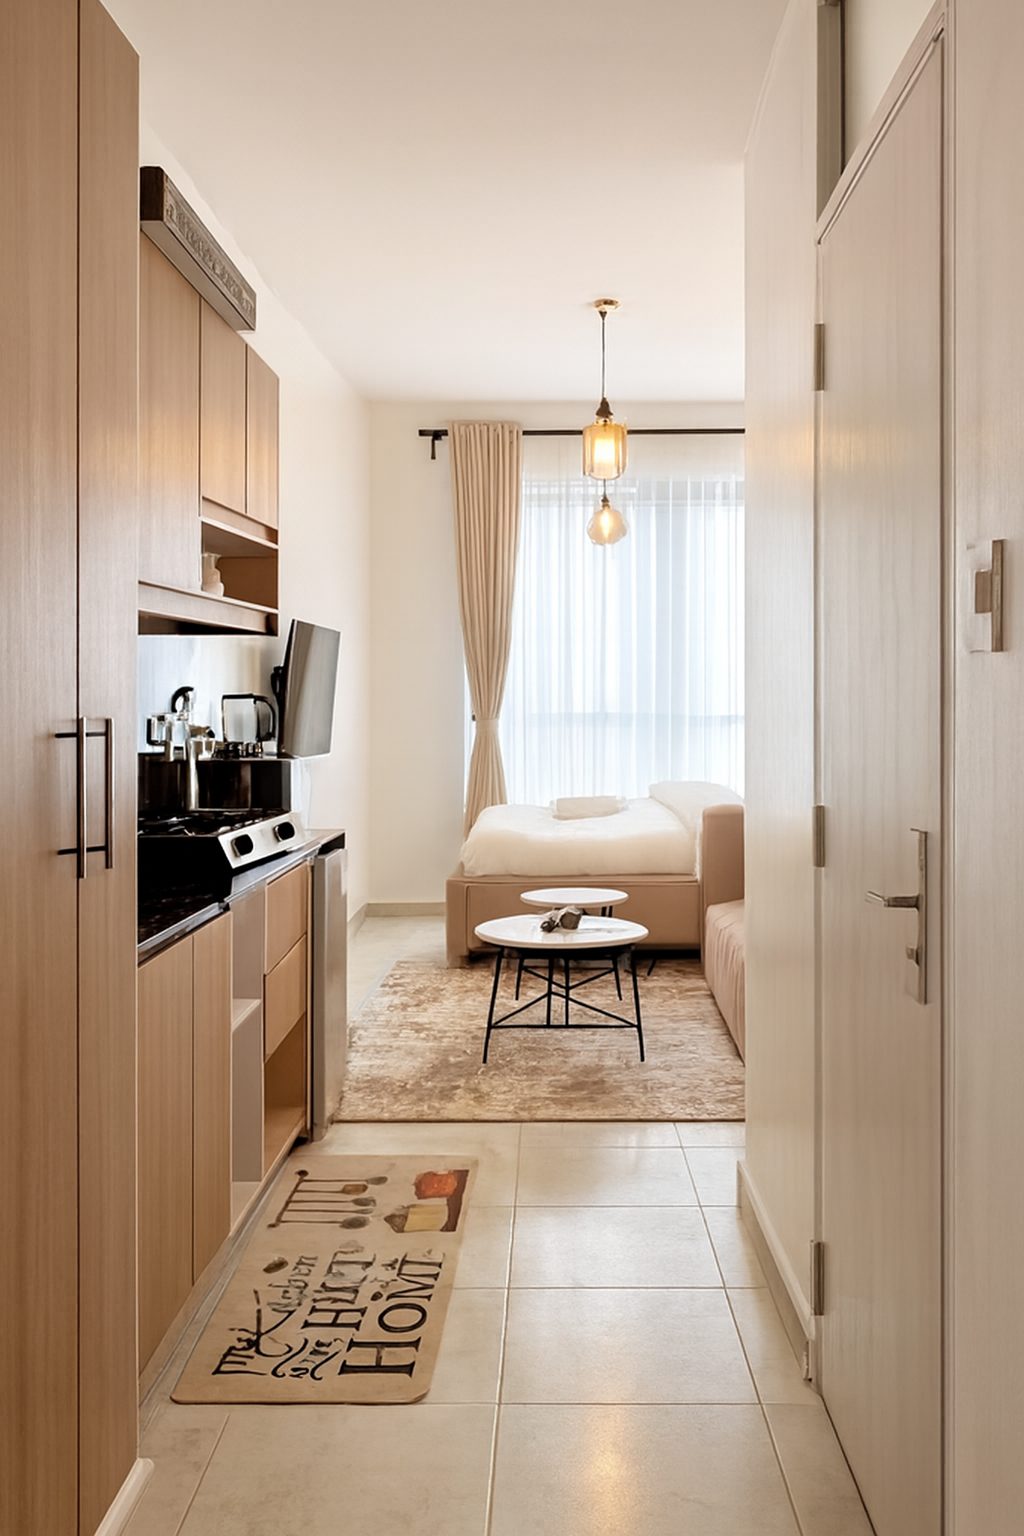
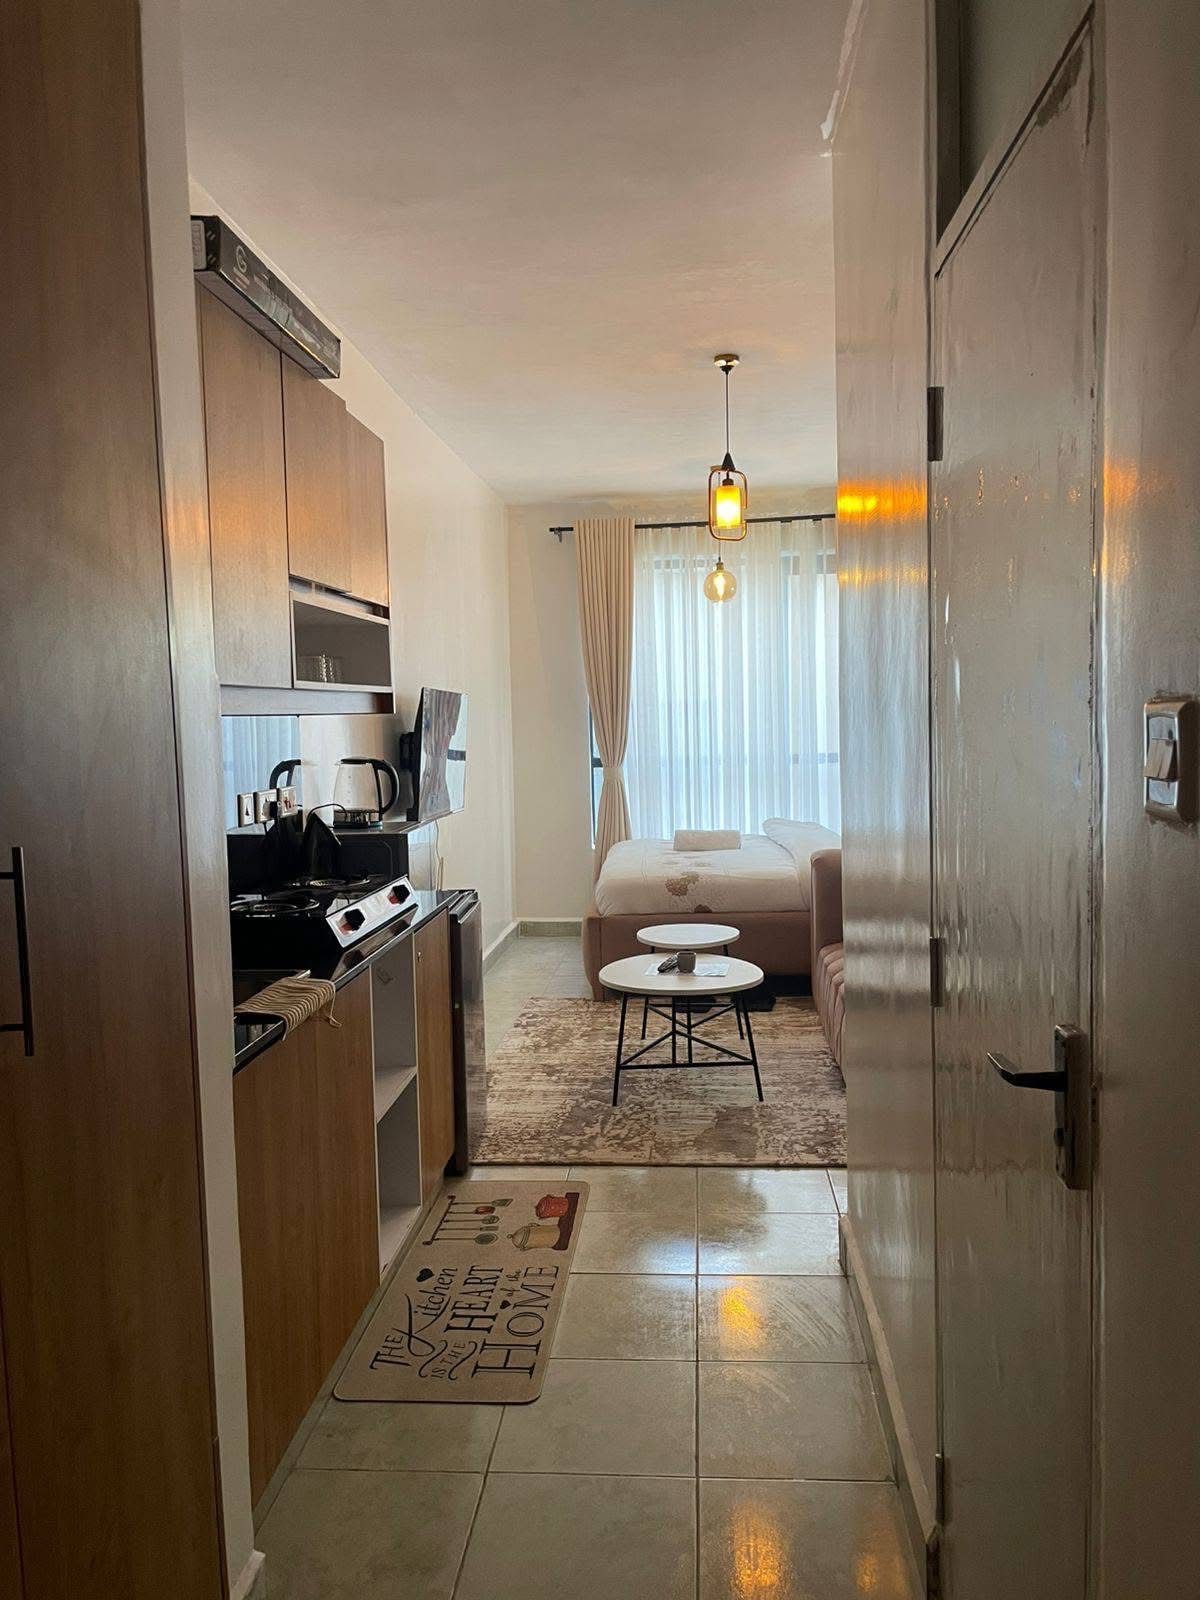
Even with every habit above, phone photos still differ from professional ones in four measurable ways: highlight and shadow balance, colour accuracy, vertical alignment and consistency across the set. Those are editing problems, and they are the reason self-shot listings usually look almost right rather than right.
ProLister handles exactly that step. Upload the photos you just shot and each one comes back with balanced exposure, neutral colour, corrected perspective and a consistent look across the whole listing - with the room itself untouched. Nothing is added, removed or invented.
Shoot carefully, then let the finishing be automatic. Your first two enhancements are free, so you can compare the result against your original before deciding anything.
Before you publish
Order your images the way a visitor walks through the property: exterior, main living space, kitchen, bedrooms, bathrooms, outdoor space. Lead with your strongest image, because the thumbnail decides whether anything else is seen.
Finally, look at the set on a phone screen rather than a laptop. That is where the overwhelming majority of buyers and guests will see it, and problems that look minor on a large display are obvious at thumbnail size.
Frequently asked questions
Is an iPhone or Android good enough for real estate photos?
Yes. Any flagship phone from the last four years captures far more resolution than Airbnb, Zillow, Vrbo or Booking.com display. Technique and finishing matter far more than the device.
Should I use the ultra-wide lens for small rooms?
Only when the room genuinely cannot be captured otherwise, and then shoot from a corner and keep the phone perfectly vertical. Ultra-wide lenses distort edges and can make a space look misleadingly large, which creates disappointment at viewings.
Do I need a tripod?
It helps with consistency and low light, but it is not essential. A cheap phone tripod set to chest height makes levelling easier and keeps every room in the set at the same height.
How many photos should a listing have?
As a practical guide, 15 to 25 images suits most homes. A very thin gallery leaves viewers guessing, and padding past thirty tends to dilute the strong images with weak ones.