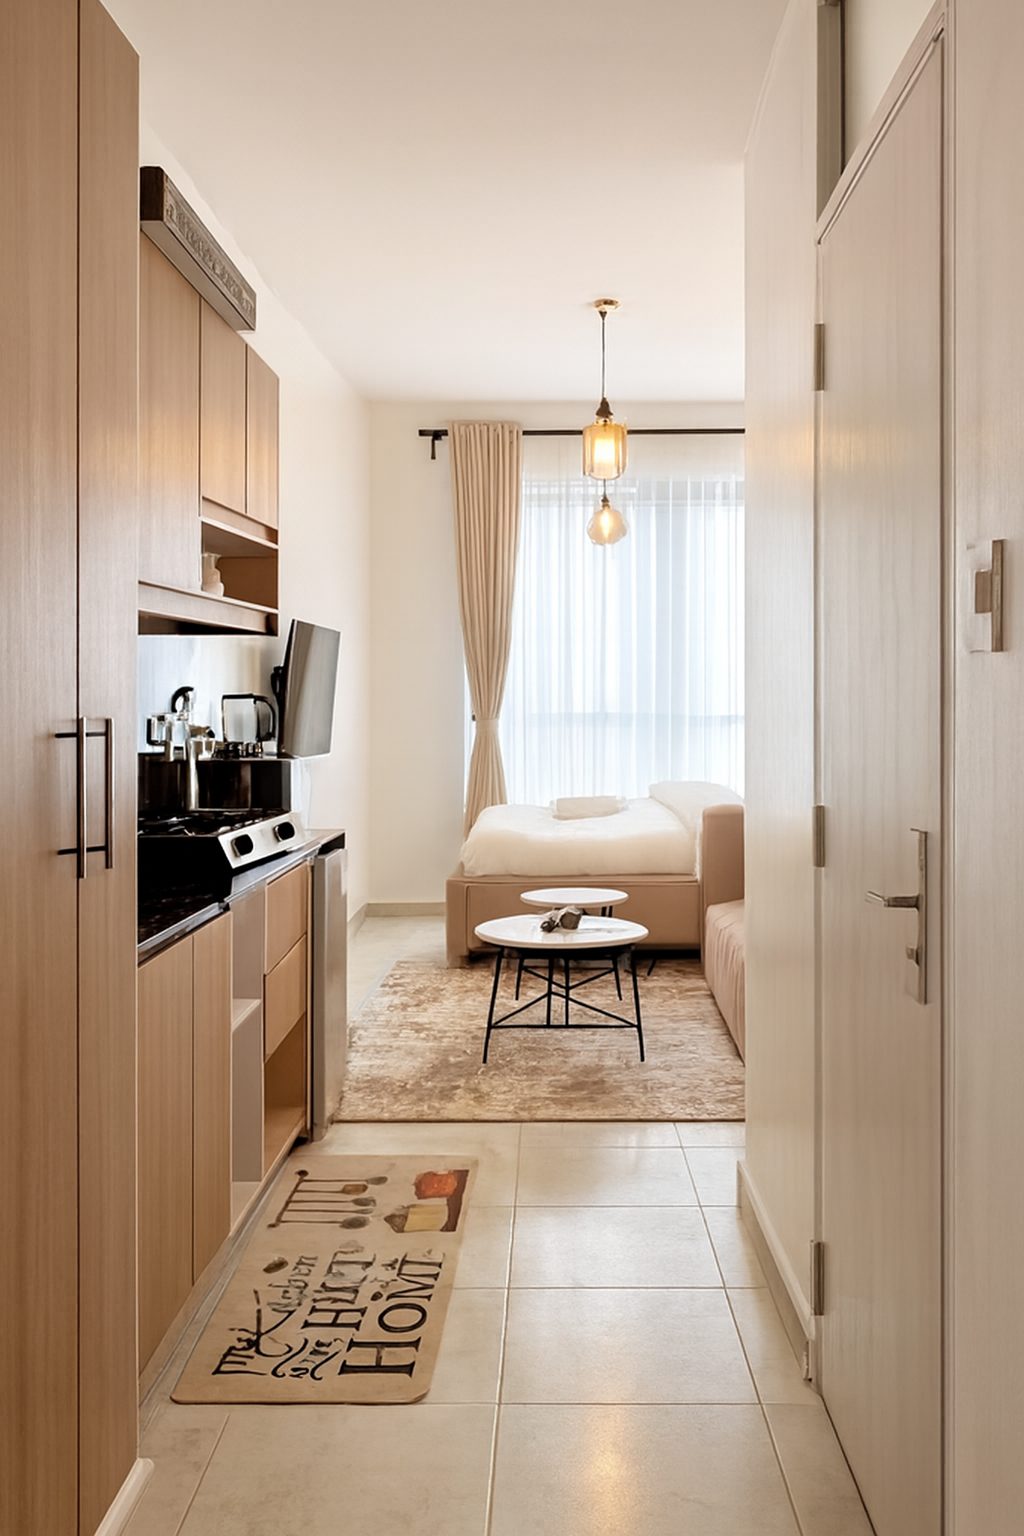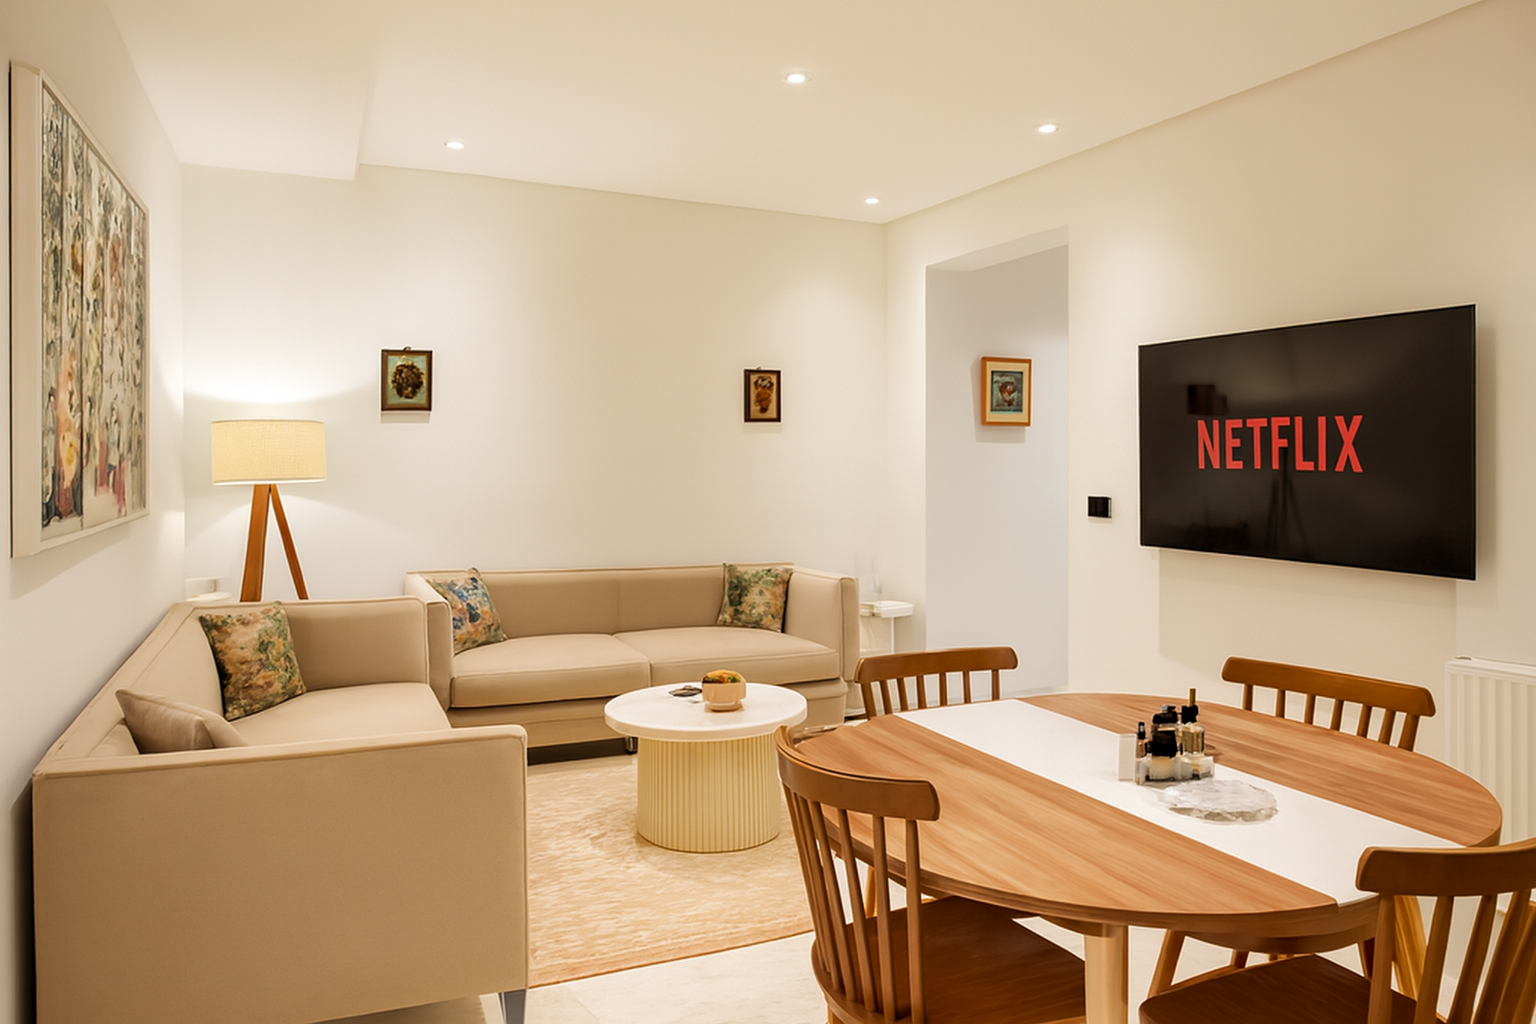
What you actually need
Photographing a property yourself is far less about equipment than most people assume. A current smartphone, a tidy property and two hours of daylight cover almost every listing.
The gear that genuinely helps is short: something to keep the camera steady and level, and a way to stop yourself rushing. Everything else is technique.
- A smartphone from the last few years, with the lens wiped clean.
- A small tripod or a stable surface, so every shot is taken from the same height.
- The camera grid and level turned on in your phone settings.
- A cloth and a bin bag - most of the improvement happens before you press the shutter.
- A plan for which rooms you will shoot and in what order.
Prepare the property before you shoot anything
No editing recovers a cluttered room. Walk the whole property once with the camera in your pocket and clear everything that a viewer would not want to see: bins, cables, drying racks, toiletries, fridge magnets, personal photographs and anything on the kitchen worktops.
Then reset the space so it looks cared for rather than lived in. Straighten cushions and rugs, make the beds with plain bedding, close toilet lids, hide remote controls and align dining chairs. Small alignment work reads as quality in a photograph even when nobody can name why.
Light every room the same way
Decide on one lighting approach and use it for the whole property. The simplest reliable choice is to open every blind and curtain, switch all artificial lights off, and shoot with daylight only.
Mixing warm bulbs with cool daylight produces an orange-and-blue split across the room that is the single most common giveaway of an amateur listing photo.
Pick the right time of day
Mid-morning and late afternoon give soft, even light. Avoid direct midday sun, which throws hard shapes across floors and walls and flattens the sense of space.
For exteriors, shoot when the front of the property is lit rather than backlit, and leave the driveway and pavement clear.
Angles and framing that make rooms read correctly
Most DIY photos fail on geometry, not exposure: keep the camera perfectly vertical at roughly chest height, around 1.4 metres, so walls do not lean. Our phone photography article covers height, levelling and framing technique in more detail.
- Stand in or near a corner and shoot toward the opposite corner so two walls are visible.
- Keep verticals vertical - door frames and wall edges should be parallel with the sides of the frame.
- Include a doorway or window in the frame where possible; it gives the eye a sense of flow and scale.
- Avoid shooting straight at a mirror, and check every reflective surface for your own reflection.
- Take two or three frames of every angle so you have a choice later.
A room-by-room shot list
Working from a list stops you finishing the shoot and discovering the second bedroom is missing. Aim for 20 to 30 usable photos for a typical home, then cut down to the best set.
- Exterior: one wide front shot, one angled shot showing depth, plus garden, balcony or parking.
- Living areas: two angles per room, one wide and one showing the main feature.
- Kitchen: one wide angle showing the layout and one closer shot of the worktop and appliances.
- Bedrooms: one from the doorway corner showing the bed and one showing the window or wardrobe.
- Bathrooms: one wide angle from the doorway; keep surfaces completely clear.
- Details: anything that genuinely sells the property - a fireplace, a view, a balcony, storage.
Getting exposure right in camera
Phones expose for the brightest thing in the frame, which is usually a window. The result is a correctly exposed window and a dark, gloomy room, or a bright room with a pure white rectangle where the view should be.
Tap on a mid-tone wall rather than the window or a dark sofa, then pull the exposure slider down very slightly. A marginally dark photo still contains all the detail and can be lifted afterwards; a blown-out one has lost it permanently.
The finishing pass that makes it look professional
Professional photographers spend as long editing as shooting. They balance the interior against the window, neutralise colour casts, straighten verticals, recover shadow detail and match every image in the set to one consistent look. That pass is the difference between correct photos and convincing ones.
This is exactly the step ProLister automates. Upload the photos you shot and each one comes back with corrected light, colour, contrast, clarity and verticals in seconds, with nothing added to or removed from the room. Your first two enhancements are free, so you can test the workflow on your own photo before committing to a whole set.
Run the entire set through the same process so the listing feels coherent from the first image to the last. Consistency across the gallery is what most DIY listings are missing.
Frequently asked questions
Can I really photograph my own property well enough to list it?
Yes. With a tidy property, daylight, level framing and a proper finishing pass, self-shot photos meet the standard of every major listing platform.
How many photos should a listing have?
Our practical recommendation is 20 to 30 images covering every room, the exterior and any standout features, ordered so the strongest photo appears first.
Do I need a wide-angle lens?
No. The standard lens on a modern phone is wide enough for most rooms. Extreme wide angles distort proportions and can make a space feel misrepresented.
Should lights be on or off?
Pick one and stay consistent. Daylight only, with lamps off, is the easiest way to avoid the orange-and-blue colour clash that mixed lighting creates.
What if my photos still look flat after shooting carefully?
That is normal - the flatness comes from the missing editing stage. Running the set through ProLister corrects exposure, colour and perspective without changing the room itself.