Why these two rooms are the hardest to shoot
Bathrooms and kitchens combine everything a phone camera struggles with. They are usually small, so you end up pressed against a wall with the ultra-wide lens. They are full of glossy surfaces, such as tiles, mirrors, glass and stainless steel, that reflect light and the person holding the phone. And they are often lit by a mix of warm ceiling lights and cool daylight, which gives white surfaces a yellow or blue cast.
They are also the rooms people look at hardest. A guest wants to know the bathroom is clean and the kitchen is usable. A tenant wants to see storage and condition. A dark or tilted photo of either room raises questions the rest of the gallery cannot answer.
Prepare the room first
Five minutes of clearing does more than any edit. Work through the room as if a guest is about to walk in.
Bathroom
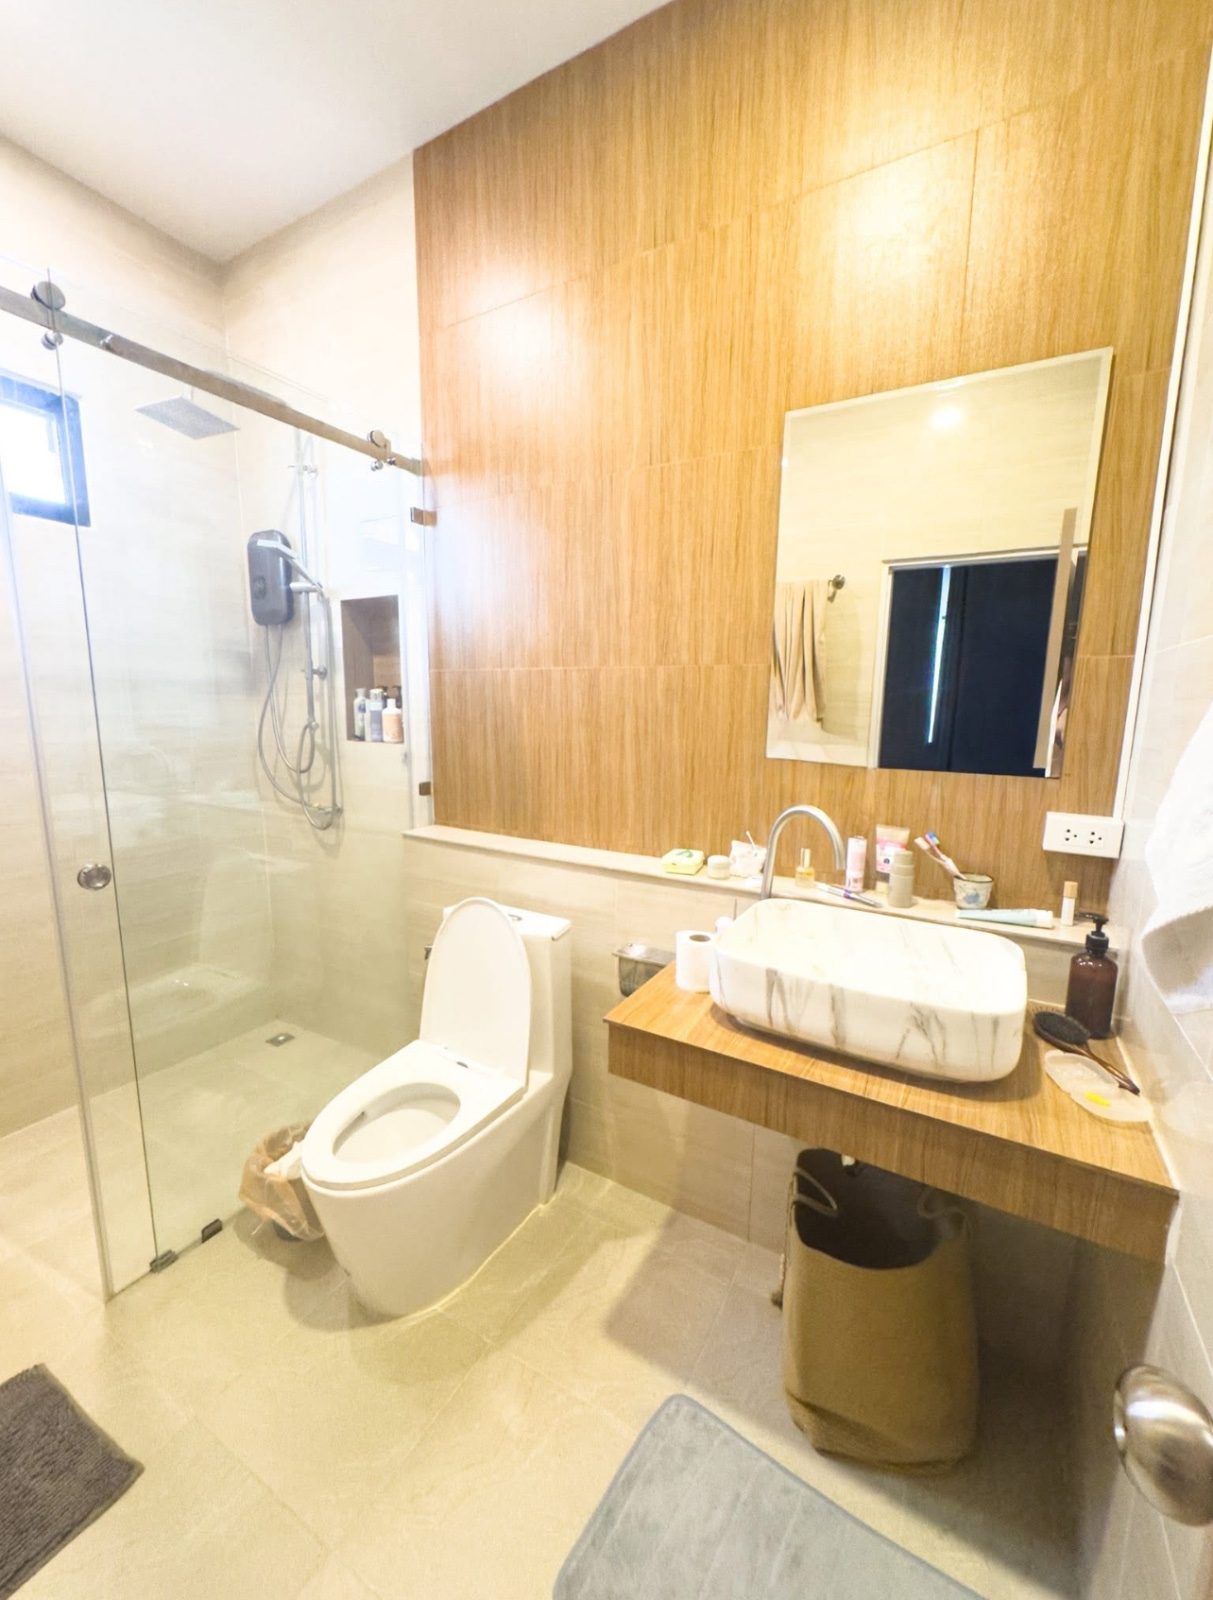
Remove toiletries, toothbrushes, razors, bath mats and used towels. Hang fresh, matching towels. Close the toilet lid. Clean the mirror and any glass, then dry every surface, because water spots and limescale show up clearly in bright light.
Kitchen
Clear the worktops apart from one or two items that suggest use, such as a kettle or a bowl of fruit. Take down fridge magnets, notes and tea towels. Hide the bin, the dish rack and cleaning products. Close every cupboard door and drawer.
Get the light right
Shoot during the day with blinds open. Daylight gives the cleanest colour and the most even light.
Then decide on the ceiling lights. If they are warm and the daylight is cool, the room will show two colours at once. Either switch them off, or switch on everything and correct the white balance afterwards. Avoid the flash: in a tiled room it creates hard reflections and flat shadows.
Where to stand
Hold the phone at chest height and keep it upright, not tilted up or down. Turn on the camera grid so you can line up the vertical edge of a door or cabinet with a grid line.
Bathroom
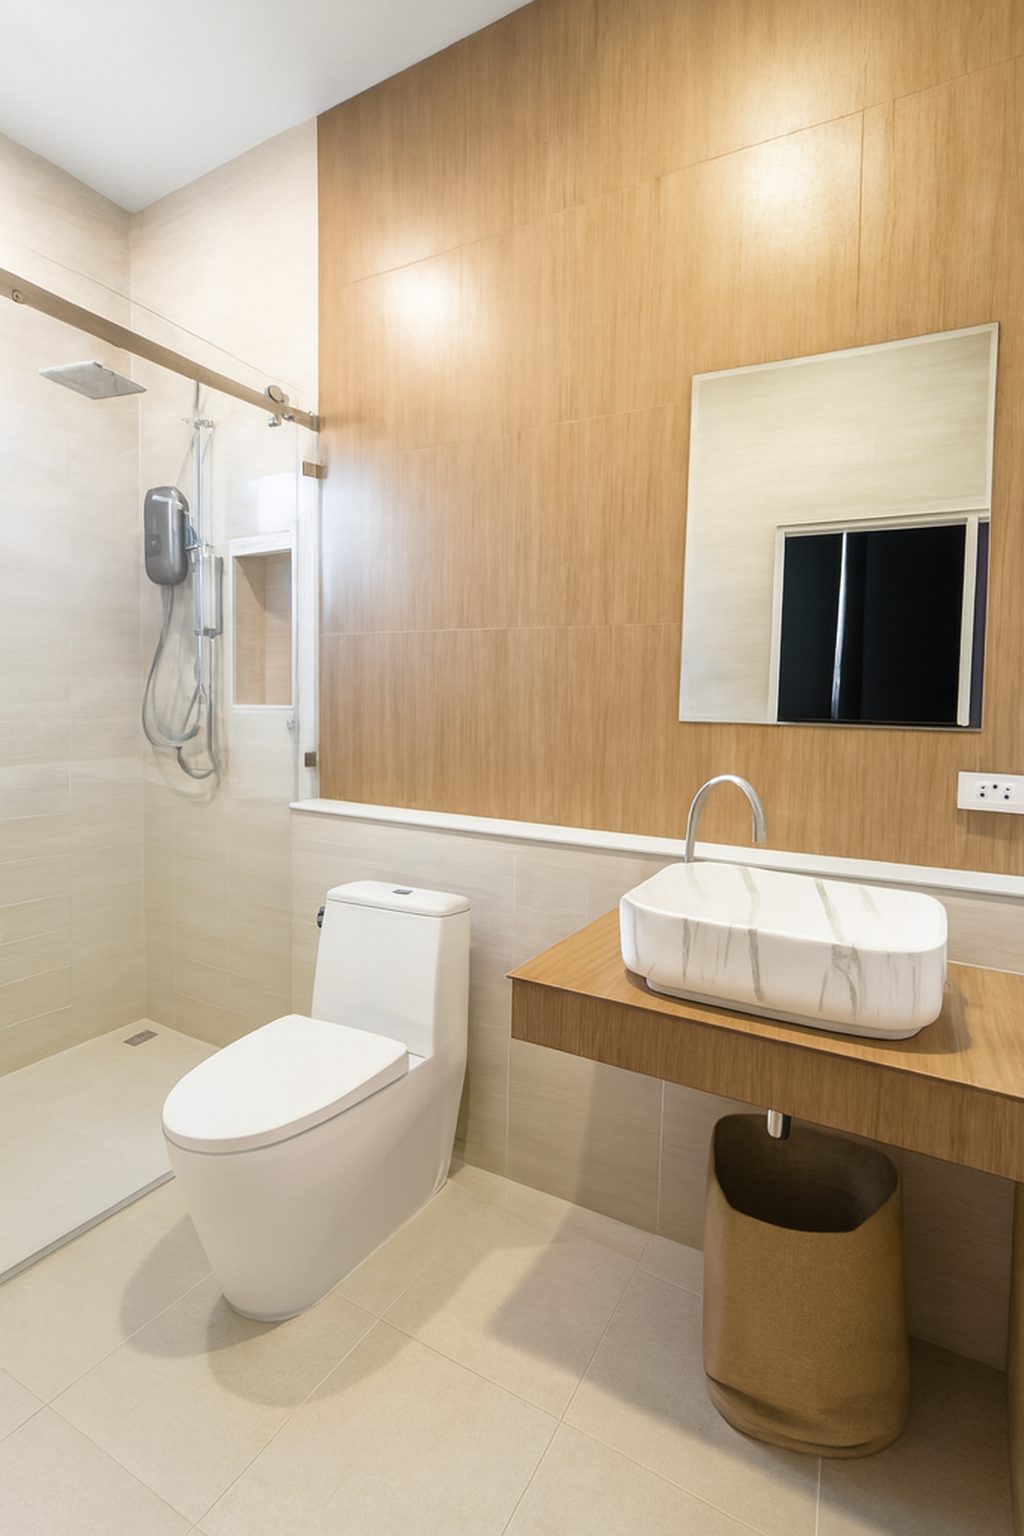
Stand in the doorway or the corner furthest from the toilet and show as much of the room as you can, with the basin, shower or bath in view. Stand at an angle to the mirror so it reflects a wall or tiles, not you. If the room is very tight, step outside the door and use the timer.
Kitchen
Stand in the far corner so the photo runs along the longest line of worktop and shows how the kitchen connects to the living or dining space. Take one wide photo of the whole room, then one closer photo only if there is a real selling point, such as a dishwasher, a range cooker or an island.
The ultra-wide lens
The 0.5x lens helps in a small bathroom, but it bends straight lines near the edges and can make a room look bigger than it is. Use it only when the normal lens cannot fit the room, keep the phone level, and leave a little space around the edges so the lines can be straightened later.
How many photos of each
- Every bathroom: one wide photo. Add a detail of the shower or bath only if it is a feature.
- Kitchen: one or two wide photos, plus one detail if it shows something guests or tenants will care about.
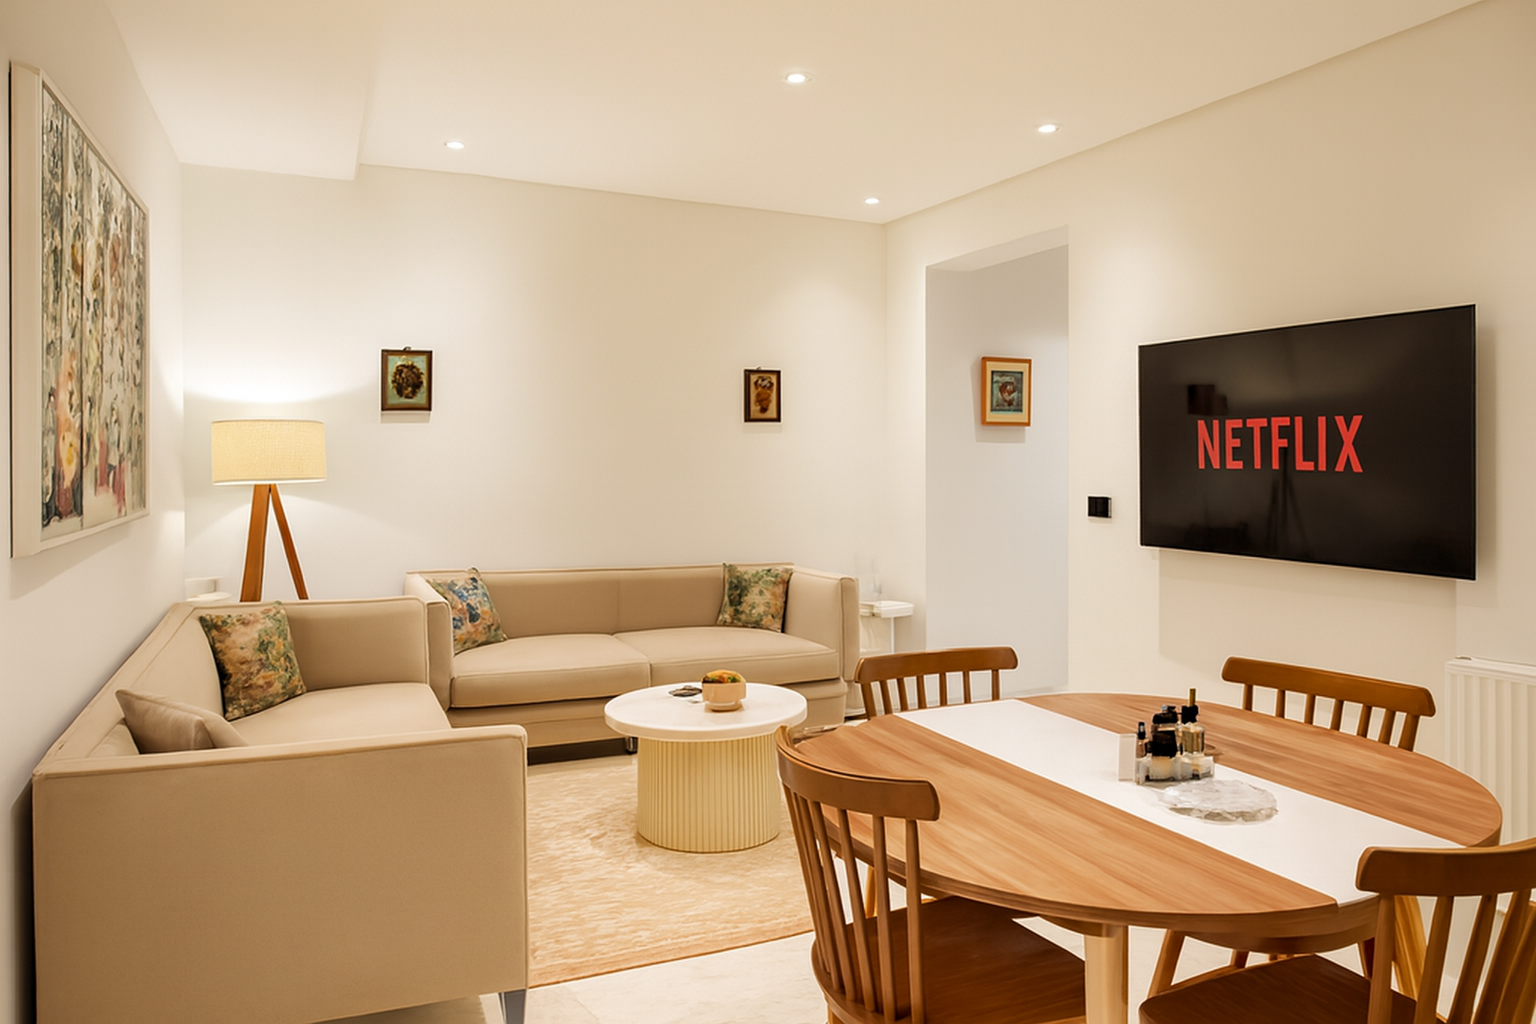
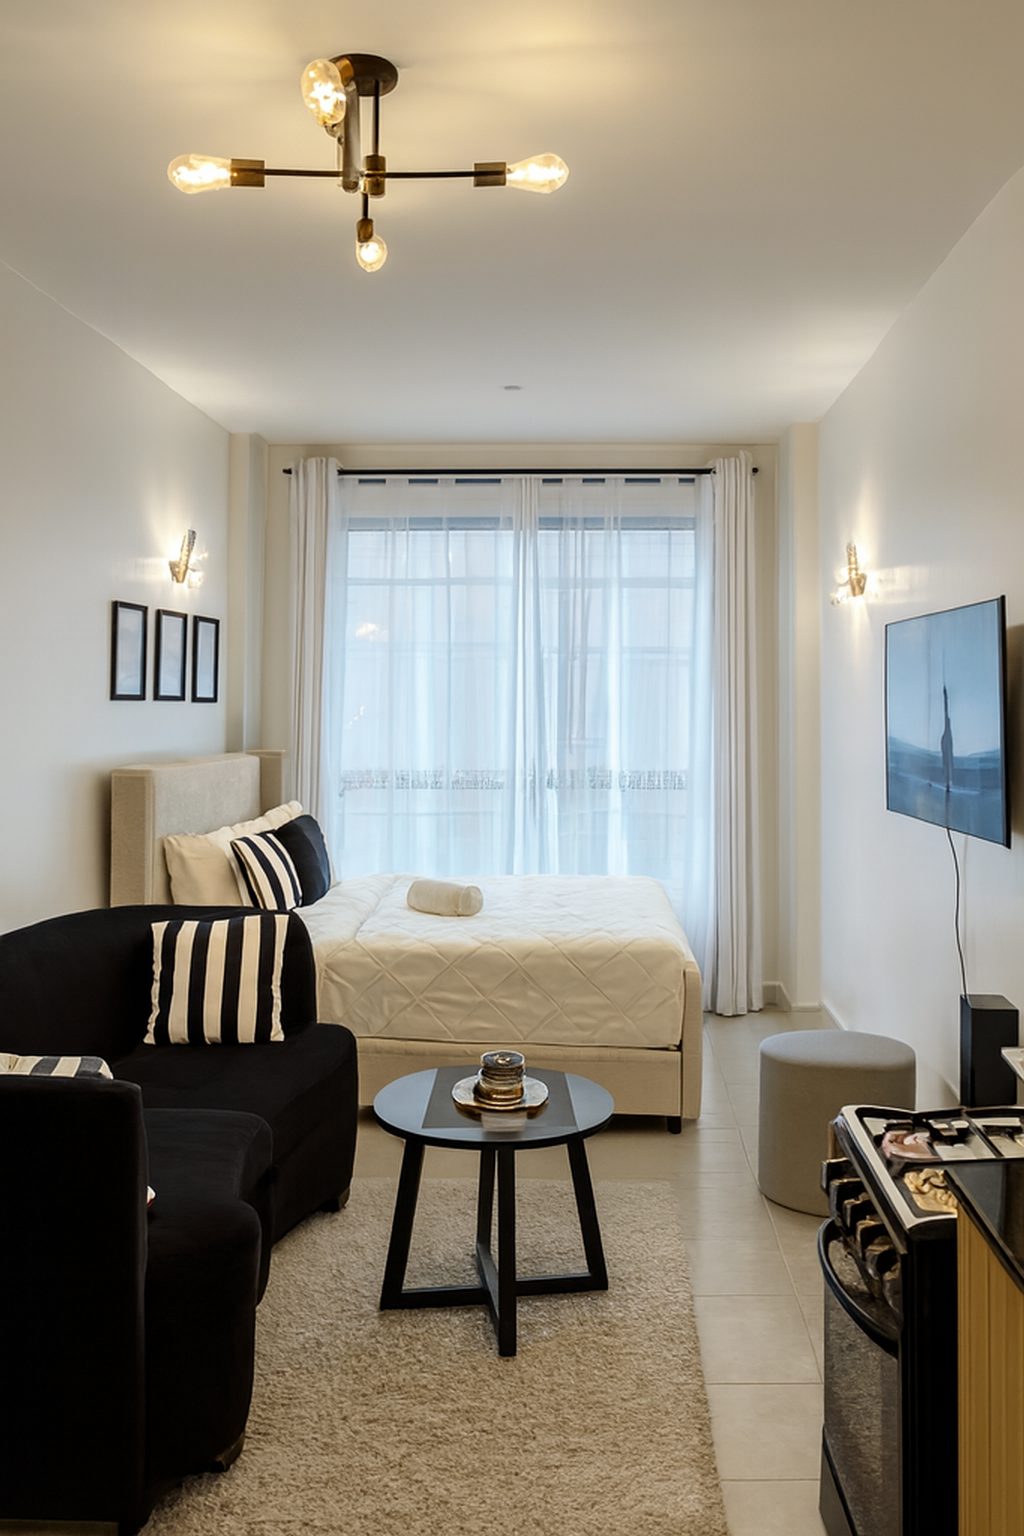
- A studio kitchenette: one photo that shows the kitchenette in relation to the rest of the space.
Finish the photos
Even a well-shot bathroom usually needs a finishing pass. White tiles and worktops show any colour cast, and small rooms make leaning walls obvious. The fix is to straighten the verticals, neutralise the white balance and balance the bright window against the darker corners.
ProLister does this in seconds per photo. Upload your phone photos and each one comes back with straight lines, neutral colour and even light. Nothing in the room is added, removed or changed, so the bathroom in the photo is the bathroom guests will find. That also means it will not hide a cracked tile or a dated suite. Show those honestly and let the clean, bright photo do the work.
Quick checklist before you upload
- Surfaces cleared and dry, towels fresh and matching, toilet lid down
- Cupboards closed, bin and dish rack out of sight
- Daylight on, mixed warm lights switched off or corrected
- Phone level at chest height, grid on, no reflection of you in the mirror
- Ultra-wide lens only where the room needs it
- Verticals straight and whites neutral after the finishing pass
Frequently asked questions
Should I use the ultra-wide lens in a small bathroom?
Only if the normal lens cannot fit the room. Keep the phone level so walls stay straight, and avoid placing the toilet or basin at the very edge of the frame, where the lens stretches things most.
How do I keep my reflection out of the mirror?
Stand at an angle to the mirror so it reflects a wall or tiles. In very small rooms, step outside the door and use the camera timer.
Should the lights be on or off?
Start with daylight. If the ceiling lights are much warmer than the daylight, switch them off, or leave them on and correct the white balance afterwards so the room shows one consistent colour.
Can AI make a dated bathroom look new?
Not without misrepresenting it. ProLister corrects light, colour and geometry, but it does not retile, replace fittings or remove anything. A clean, bright and straight photo of the real room is what builds trust.
How much does ProLister cost?
You get 2 free enhancements after sign-up. After that, one-time credit packs start at $9.99 for 10 photos, and credits never expire.
What changed, and what did not
This panel describes how ProLister's own enhancement behaves, based on our product testing on real listing photos. It is not independent industry research.
What changed in the photo
- Brightness and shadow detail in dark areas
- Colour temperature (orange or blue casts neutralised)
- Contrast and clarity
- Window exposure, so the view outside is visible
- Vertical alignment of walls and door frames
- Digital noise in darker rooms
What did not change
- The room's layout, dimensions and architecture
- Furniture, appliances and decor
- Wall, floor and worktop finishes and materials
- The view through the windows
- The property's condition, including wear and damage
- Anything the camera did not capture in the original frame
What AI can and cannot safely do to a listing photo
| Edit | Safe to publish? |
|---|---|
| Correct exposure, colour, contrast and verticals | Yes - standard photographic finishing |
| Recover blown-out windows and shadow detail | Yes - shows what a visitor's eye would see |
| Unify brightness and colour across a photo set | Yes - presentation only |
| Add or remove furniture, or restyle a room | Only as clearly labelled virtual staging |
| Erase damage, damp, cracks or wear | No - misrepresents the property's condition |
| Replace views, skies or seasons | No - changes what the property offers |
| Stretch or widen a room's apparent size | No - misrepresents the space |
The "safe" column reflects platform accuracy rules (see the sources below) and our editorial recommendation. Always check the current policy of each platform, MLS and local regulation you list on.